
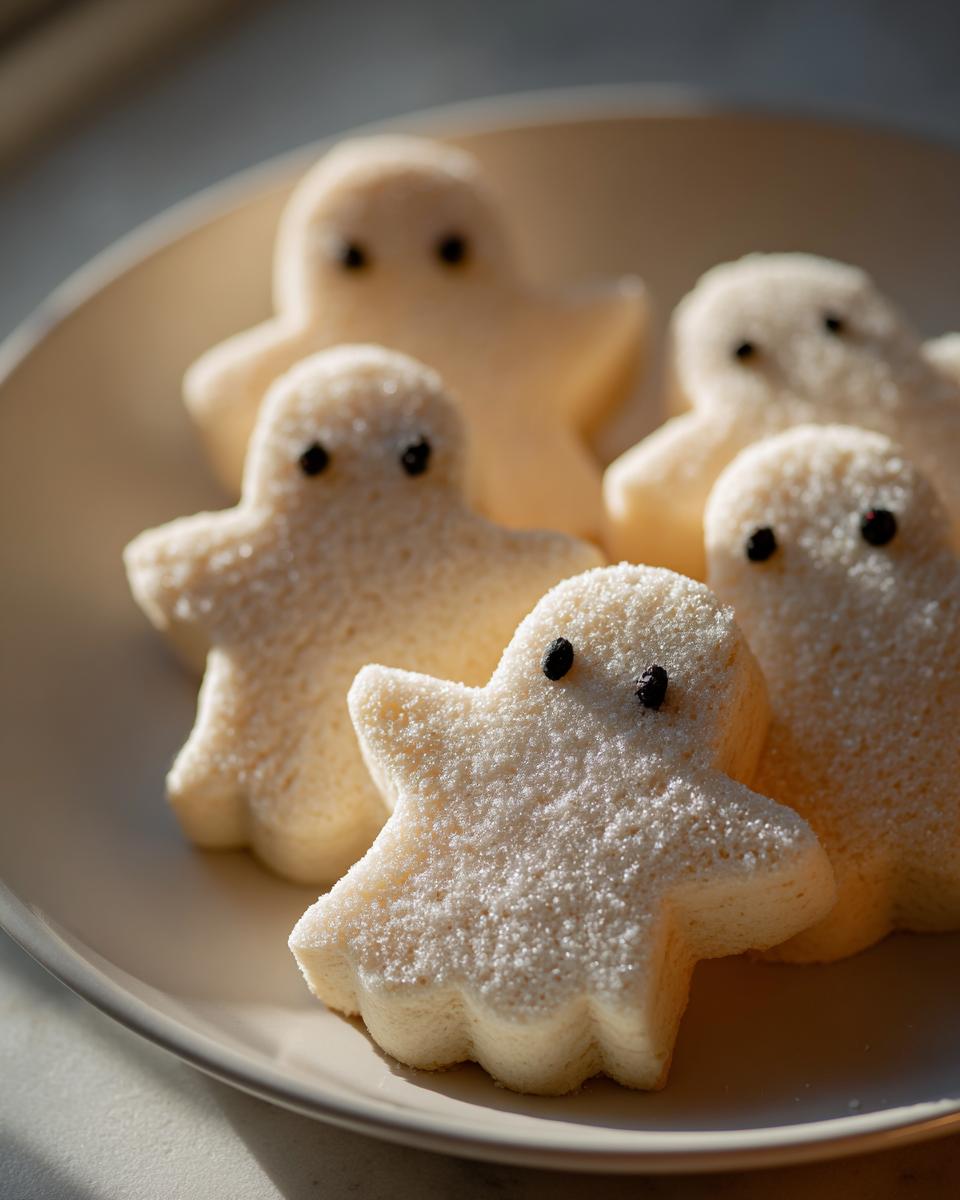
Oh, when October rolls around, you *know* I have to get something ridiculously fun and spooky happening in the kitchen! Forget complicated layer cakes; we need cookies that scream (quietly, of course) festive spirit without needing a ton of fuss. That’s why I’m absolutely thrilled to share my go-to recipe for what I lovingly call the **best Ghost Cookies** ever.
These aren’t delicate, fussy things, trust me. These sugar cookies are sturdy, they hold their shape beautifully after baking, and they are practically designed for beginners. My kids practically grew up making these with me—it’s our tradition to have them ready before the first jack-o’-lantern even shows up on the porch. They use standard pantry staples and they turn out perfect every single time. You’re going to love how these simple Ghost Cookies come together!
Why These Ghost Cookies Are a Must-Bake Halloween Treat
Honestly, if you’re looking for a fun project that doesn’t turn your whole afternoon into a culinary marathon, you’ve hit the jackpot with these Ghost Cookies. They are reliable, charmingly spooky, and they come together so fast. I always keep the recipe handy because they are perfect for last-minute school parties or when you just need a little happy treat!
Why should you whip up this batch right now? Well, look at these benefits:
- They use a classic, sturdy sugar cookie base that doesn’t puff up or spread all over the pan.
- Kids can handle almost every step, from mixing to dusting with that spooky white sugar finish.
- The final cookies are perfect for dipping—though my family just eats them plain!
If you are looking for more ways to deck out your spooky season treats, you should check out some other fun Halloween cookies recipes online!
Perfect for All Skill Levels: Simple Ghost Cookies
Seriously, you don’t need to be a master decorator here. You use a simple cutter and let the chilling do the heavy lifting. When the dough is cold—and I mean *really* cold—it cuts like a dream. It keeps those little ghost edges sharp, so you don’t end up with sad, melted puddles on your tray. That chilling step is absolutely key to getting that wonderful, distinct shape for your Ghost Cookies.

Quick Prep and Bake Time for Your Ghost Cookies
This is the part I love the most when I’m rushing! You’re looking at only about 30 minutes of hands-on prep time, which is fantastic. And once they hit the oven, they are done in a flash—seriously, 8 to 10 minutes tops! That’s what I call efficiency. You’ll have these adorable little guys cooling before you can even figure out what movie to watch later!
Essential Ingredients for Perfect Ghost Cookies
When it comes to these Ghost Cookies, simple ingredients are the magic trick! There’s nothing fancy here—just good, solid baking components that make a perfectly tender, vanilla-forward sugar cookie. I never mess around with this base because it’s so reliable. If you’ve got butter, sugar, flour, and the usual suspects, you’re halfway there!
I always find that laying out exactly what I need before I start mixing really helps keep the process smooth, especially since we’re chilling the dough later. If you’re looking for inspiration on using mixes instead, sometimes I look up shortcuts for cake mix cookies, but for these spooks, the from-scratch method is worth the tiny bit of extra effort!
Dough Components for Your Ghost Cookies
The texture of these cookies relies almost entirely on how well you treat those first couple of ingredients. Don’t skimp on the butter; it has to be softened nicely—not melted, but soft enough that your finger leaves a deep dent when you poke it. That aeration process sets up the whole structure of your Ghost Cookies before they even see the oven!
Here’s what you need for the dough itself:
- One cup of unsalted butter, that’s softened up perfectly.
- One full cup of granulated sugar—we need that sweetness to balance the vanilla.
- Just one big, beautiful egg.
- A teaspoon of good vanilla extract—don’t go for the cheap imitation stuff!
- Three cups of all-purpose flour.
- One teaspoon of baking powder for just a little lift.
- And half a teaspoon of salt to keep things from tasting flat.
Decorations for the Ghost Cookies Eyes
This is where the fun really starts, turning a plain sugar cookie into a genuine spook! You only need a few things to bring these little guys to life. Remember, you can always use small black candies if you don’t want to mess with mixing up coloring, but I like the precise look you get with a little paint.
For the finishing touches, make sure you have:
- Half a cup of powdered sugar ready for dusting after they cool completely.
- And, of course, some black food coloring. I usually mix just a tiny bit of that color with a single drop of water until I get a nice, thick black liquid that’s easy to paint little eyes with.

Step-by-Step Instructions to Make Ghost Cookies
Okay, this is the fun part! Getting the dough right is critical because if it’s too warm, your cute little ghosts will melt into flat pancakes, and we absolutely cannot have that. Follow these steps exactly, especially the chilling part, and you’ll end up with beautiful, sharp-edged Ghost Cookies that look like they floated right out of a bakery case.
Mixing the Ghost Cookies Dough Base
We always start by building that perfect fatty, sweet base! Grab your mixer—or a sturdy whisk if you’re feeling ambitious—and beat that softened butter and the granulated sugar together until it looks light and fluffy. Trust me, you want to cream this mixture well, getting lots of air in there. That’s what gives the cookie structure!
Once you’ve hit that fluffy stage, beat in your egg and the vanilla extract until everything looks nicely combined. Don’t overmix it here, we don’t want the gluten kicking in too early!
Now for the dry stuff. In a completely separate bowl, whisk together your flour, your baking powder, and the salt. Whisking them ensures the leavening agent is evenly distributed so the cookies bake up evenly. Then, gradually add those dry ingredients into your wet mixture. You stop mixing just when a soft dough forms. It should be shaggy but combined, not highly developed.
Chilling and Preparing for Baking Your Ghost Cookies
Here is the instruction that separates the good cookies from the blobs: Divide that dough in half. Wrap each half tightly in plastic wrap—make sure it’s snug—and stick it in the refrigerator. You need to chill this dough for at least one whole hour. Seriously, don’t rush it! Chilling firms up the fat, which prevents the Ghost Cookies from spreading when they hit the heat.
While that’s chilling away, get your oven preheated to 350 degrees Fahrenheit (that’s 175 Celsius for my international bakers!). And make sure you line those baking sheets with parchment paper. Parchment is your best friend; it guarantees easy transfer later.
Cutting, Baking, and Cooling the Ghost Cookies
Once the dough is cold and firm, flour your work surface lightly. Take out one dough half at a time (keep the other one cold!) and roll it out to about a 1/4 inch thickness. Thicker means softer, thinner means crispier—1/4 inch is the sweet spot for a nice chew.
Grab your ghost-shaped cookie cutter and get cutting! Place those little spooks onto your prepared sheets, leaving a little space between them just in case they decide to bloom a tiny bit. Pop them into your hot oven and bake them for just 8 to 10 minutes. You’re looking for the edges to just barely turn a light, pale gold; keep an eye on them so they don’t brown too much!
When they are done, let them sit right there on the hot baking sheet for about 5 minutes. That allows them to set up before you move them, which is vital for sugar cookies! Then, gently transfer them over to a wire rack so they can cool down completely. You can’t decorate warm cookies, trust me on this one; warm cookies lead to melted eye paint!
Decorating Your Finished Ghost Cookies
Once those cookies are totally cool—and I mean room temperature—it’s time to give them faces! Remember how I mentioned mixing up that tiny bit of black food coloring with just a drop of water? Mix that until it’s smooth and thick, almost like ink. If it’s too watery, it will just bleed right into the cookie.
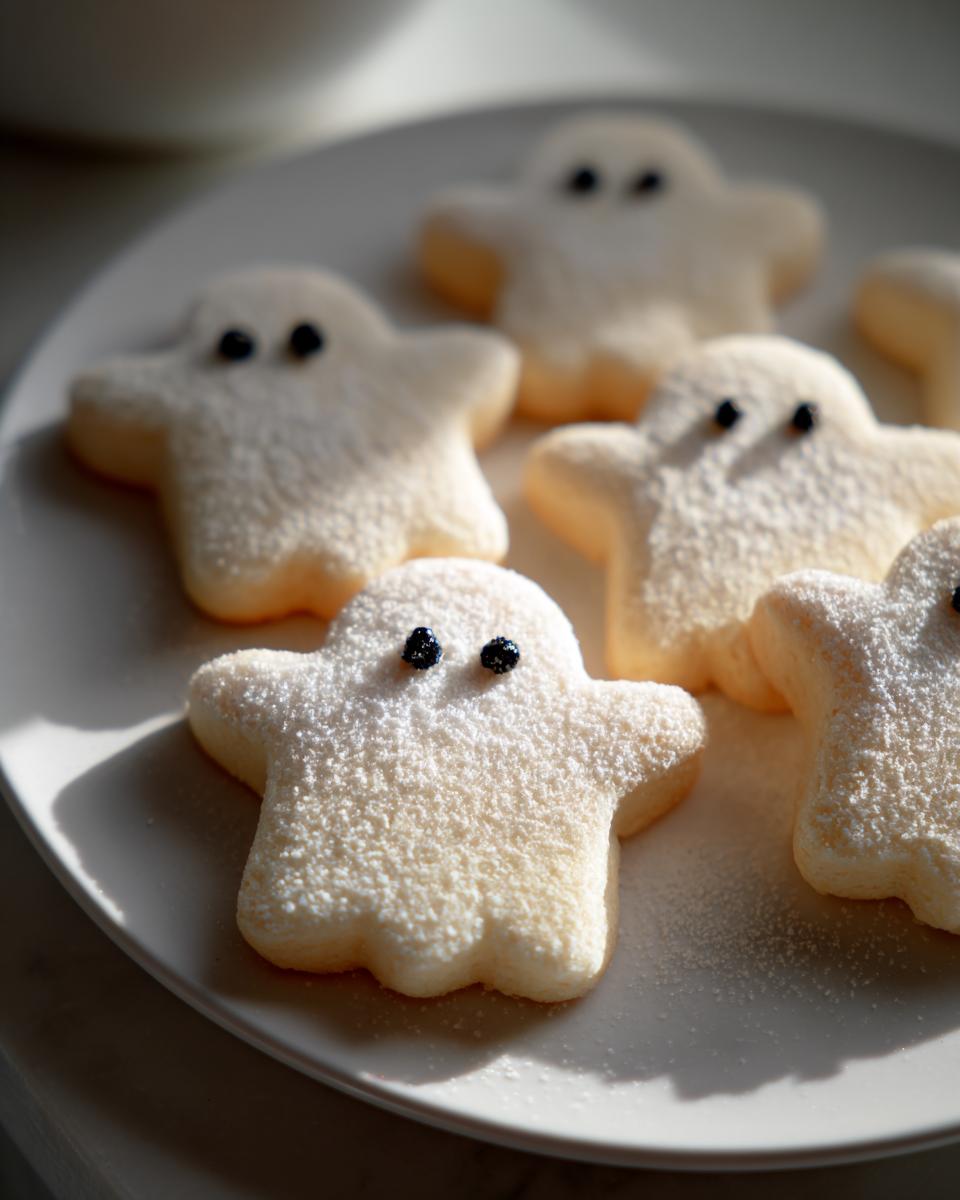
Use a small, fine-tipped clean paintbrush or even a toothpick to paint those little spooky eyes onto each ghost. Keep them small and simple for the best effect. Once the eyes are on and they look sufficiently eerie, take your powdered sugar and dust them lightly all over. That light coating gives them that perfect, slightly cloudy spectral look before you serve up your amazing Ghost Cookies!
Expert Tips for Flawless Ghost Cookies
Even though this recipe is super straightforward, sometimes little things pop up in the kitchen, right? Don’t panic if your dough decides it doesn’t want to cooperate! I’ve learned a few sneaky tricks over the years to keep these Ghost Cookies looking picture-perfect. Remember, even though we can learn new tricks by checking out things like Father’s Day cookie recipes, the basics for sugar cookies never change!
Troubleshooting Soft Dough When Making Ghost Cookies
If you roll out a section of dough and suddenly it feels gummy or floppy against your hands, that means the butter is loosening up too much. Don’t try to fight it by adding tons of flour, because that will just make your baked cookies tough!
The solution is simple: pop that soft dough, the one you are currently working with, right back into the fridge for 15 minutes. Seriously, just 15 minutes is usually enough to firm it up so you can cut cleanly again. Also, here’s my personal trick for rolling: I barely flour my surface. If you use too much flour, the cookie cutter struggles to grip the dough, and then you drag loose flour onto the baking sheet, which can burn.
Alternative Decoration Methods for Ghost Cookies
While I adore mixing up that tiny bit of black food coloring to paint the eyes, sometimes you just want zero mess! If you’re whipping up a huge batch and don’t want to deal with cleaning tiny paintbrushes, you absolutely have an easy out here.
The recipe note mentioned using small black candies, and I totally recommend that for quick decorating! Things like mini chocolate chips or black pearl sprinkles work in a pinch. Just press the candy right into the soft dough where the eyes should go *before* you bake them. The heat will melt them just enough to adhere perfectly, and voila—instant ghostly eyes without waiting for paint to dry!
Storage and Reheating for Your Ghost Cookies
Now that you’ve made these amazing, easy Ghost Cookies, the most important thing is keeping them fresh so you can enjoy them all week long! Sugar cookies, when stored correctly, keep their texture surprisingly well, which is great news for all your Halloween snacking.
You really don’t need to worry about complicated refrigeration here. Leave them happily sitting out at room temperature. The key is airtight storage. Once they are completely, totally cool—and I mean no warmth left in them whatsoever—stack them carefully in a sturdy cookie tin or a large airtight container. You can put a sheet of parchment paper between the layers if you’re worried about the powdered sugar sticking, though usually, if the eyes are dry, it’s fine.
Stored this way, they stay perfectly delicious for at least five to seven days. I’ve definitely tested longer, but they rarely last that long in my house! You definitely don’t need to reheat them, but if they somehow got a little soft after sitting out on a humid day, just place them on a baking sheet for about two minutes in a 300°F oven to crisp them up again. That dusting of sugar will smell incredible!
Variations on Classic Ghost Cookies
While I stand by the classic vanilla flavor in the recipe—it lets that light dusting of powdered sugar really pop—I know some of you like to shake things up a bit, especially around the holidays! Good news: this dough base is totally adaptable without messing up the beautiful ghost shape.
When I want to give the kids something slightly different without risking a collapse, I usually stick to small extracts or spices that blend seamlessly into the existing ingredients. You can totally play around here, but if you’re new to modifying sugar cookies, keep it subtle. For example, you could try some of these simple tweaks!
If you’re curious about other flavor profiles that work well in cookies, you might get inspired looking at recipes like chocolate chip tahini cookies, even though we’re sticking to a sugar cookie base here!
Here are my favorite little upgrades for these Ghost Cookies:
- Swap the Vanilla: Simply replace the teaspoon of vanilla extract with a teaspoon of almond extract. It gives the cookie a slightly marzipan-like, brighter flavor that is delicious but still plays nicely with the simple decoration.
- A Pinch of Spice: Before adding the flour mixture, mix about 1/4 teaspoon of ground cinnamon or even a tiny pinch of cardamom right into your wet ingredients. It gives the cookie a lovely warmth that’s unexpected but still totally delicious.
- Citrus Zest Boost: If you have a fresh lemon or orange sitting around, grate just the zest from half a fruit right into the sugar and butter when you’re creaming them! It keeps the cookie bright and amazing, and it pairs surprisingly well with the vanilla.
The trick is never to add anything too wet or too heavy, like purees or big chunks, because that will throw off the chilling and cutting process we worked so hard for to keep those ghost shapes sharp!
Serving Suggestions for Ghost Cookies
Now that you have these perfectly spooky, slightly vanilla-flavored Ghost Cookies, you probably need to know the best way to serve them up to your happy ghosts and goblins! While they are fantastic all on their own—seriously, a plain, perfectly textured sugar cookie is a joy—they shine even brighter next to the perfect drink.
My kids are always going to grab a tall glass of cold milk first. What better way to wash down a fun, festive cookie than with something icy and classic? It’s the absolute go-to pairing in my house, and it cuts through the buttery richness perfectly.
But as the nights get chillier around Halloween, I always turn to warm beverages! After carving pumpkins or watching a spooky movie, nothing beats dunking one of these vanilla Ghost Cookies into something rich and comforting. I’m a huge fan of hot chocolate.
If you want to try making an extra-special warm drink to go along with these, you absolutely have to check out how to make an amazing Italian-style hot chocolate. It’s thick, decadent, and feels way fancier than your standard cocoa, making the whole Halloween experience feel just a little bit magical. Pair a cookie with that dark, rich chocolate, and you’ve got yourself an adult (or kid-approved!) treat that’s unbeatable!
Frequently Asked Questions About Ghost Cookies
I know you’re probably already grabbing your rolling pin, but before you do, let’s clear up any last-minute worries you might have about these Ghost Cookies. Baking cutout cookies can sometimes feel a little intimidating, but trust me, this recipe really covers all the bases! If you’ve ever struggled with classic sugar cookies, these tips should help iron out the details!
Can I freeze the Ghost Cookies dough?
Yes, absolutely you can! This dough freezes beautifully, which is a lifesaver when you want to bake a small batch now and save the rest for later in the season. Once you’ve mixed your dough and it’s ready for the first chill, divide it into discs, wrap each disc super tightly in plastic wrap, and then slip those wrapped discs into a freezer bag or an airtight container.
When you want to bake them later, just pull the disc out of the freezer and let it thaw in the refrigerator overnight, or for about 3 hours on the counter if you’re in a rush. Make sure it’s totally firm but pliable before you try rolling it out, okay? This is great for having emergency Halloween cookies ready to go!
Why are my Ghost Cookies spreading too much?
Oh, the dreaded spread! That usually happens for one of two reasons when making cutout cookies. The number one culprit is almost always temperature. If your dough is too warm when it hits the hot oven, the butter melts instantly before the structure can set, and *poof*—you lose that crisp ghost shape.
That’s why I stress that one hour minimum chill time! If you’re having trouble, try chilling the shapes on the baking sheet for 10 minutes *before* putting them in the oven, too. The second reason is sometimes we get a little heavy-handed with the flour when rolling it out. If you add too much loose flour into the dough mixture, it messes up the fat-to-flour ratio, which can also lead to spreading or a dry, crumbly final texture.
What is the best way to decorate these Halloween cookies?
Honestly, the best decoration is the easiest one, which is why I originally went with the lightly dusted powdered sugar look! It gives them that perfect, slightly ethereal vibe without any fuss. But if you want defined eyes, mixing up that tiny bit of black food coloring with water is super simple and gives you great control with a small brush. You get tiny, precise little black dots for eyes just like that!
If you’re feeling fancy and want to outline the ghost body next time, you can always use a thin royal icing. Just make a small batch of white royal icing, thin it down slightly so it flows nicely, and use a piping bag with a very fine tip to trace the outline of the ghost shape. Let that dry completely before adding the black eyes on top. It takes longer, but it looks amazing when you’re making a big platter of Halloween cookies!
Nutritional Estimates for Simple Ghost Cookies
I’m not a nutritionist, bless my heart, so take these numbers with a massive grain of salt! I just grabbed these estimates from a standard calculator based on the ingredients in this recipe. When you’re baking up fun treats like these Ghost Cookies, honestly, the joy they bring outweighs the macros, right?
But, since some of you like to know what you’re dealing with, here is a general breakdown for one serving size—which, by the way, I estimate to be one cookie. If you eat two, these numbers double! Use this chart as a baseline for planning your spooky party treats.
Remember, these are just estimates based on the standard measurements we used for our flour, sugar, and butter!
- Serving Size: 1 cookie
- Calories: 150
- Sugar: 12 grams
- Sodium: 60 mg
- Total Fat: 8 grams (with 5 grams of that being saturated fat)
- Protein: 2 grams
- Carbohydrates: 18 grams
See? Pretty reasonable for a homemade cut-out treat! They aren’t heavy, and they satisfy that craving for something sweet and festive perfectly. Enjoy these Ghost Cookies guilt-free, or at least, guilt-a-little-less! As long as you’re sharing the batch, everything balances out in the end.
Print
Simple Ghost Cookies
- Total Time: 100 min
- Yield: 2 dozen 1x
- Diet: Vegetarian
Description
A basic recipe for making fun, simple ghost-shaped sugar cookies.
Ingredients
- 1 cup unsalted butter, softened
- 1 cup granulated sugar
- 1 large egg
- 1 teaspoon vanilla extract
- 3 cups all-purpose flour
- 1 teaspoon baking powder
- 1/2 teaspoon salt
- 1/2 cup powdered sugar (for dusting)
- Black food coloring (for eyes)
Instructions
- Beat the softened butter and granulated sugar together until light and fluffy.
- Beat in the egg and vanilla extract until combined.
- In a separate bowl, whisk together the flour, baking powder, and salt.
- Gradually add the dry ingredients to the wet ingredients, mixing until a dough forms.
- Divide the dough in half, wrap each half in plastic wrap, and chill for at least 1 hour.
- Preheat your oven to 350 degrees Fahrenheit (175 degrees Celsius). Line baking sheets with parchment paper.
- On a lightly floured surface, roll out one portion of the dough to about 1/4 inch thickness.
- Use a ghost-shaped cookie cutter to cut out shapes and place them on the prepared baking sheets.
- Bake for 8 to 10 minutes, or until the edges are lightly golden.
- Let the cookies cool on the baking sheet for 5 minutes before transferring them to a wire rack to cool completely.
- Once cool, use a small amount of black food coloring mixed with a drop of water to paint small eyes onto each ghost cookie.
- Dust lightly with powdered sugar before serving.
Notes
- If the dough becomes too soft while cutting, return it to the refrigerator for 15 minutes.
- You can use small black candies instead of food coloring for the eyes.
- Prep Time: 30 min
- Cook Time: 10 min
- Category: Dessert
- Method: Baking
- Cuisine: American
Nutrition
- Serving Size: 1 cookie
- Calories: 150
- Sugar: 12
- Sodium: 60
- Fat: 8
- Saturated Fat: 5
- Unsaturated Fat: 3
- Trans Fat: 0
- Carbohydrates: 18
- Fiber: 0
- Protein: 2
- Cholesterol: 25
Keywords: ghost cookies, sugar cookies, Halloween cookies, simple cookies, vanilla cookies