
Oh, I just love recipes that taste like a hug from the inside, you know? Those simple, nostalgic desserts that don’t require an entire afternoon slaving over the stove. Well, friends, I’ve perfected the absolute easiest, most refreshing treat you’ll ever make, and it’s perfect whether it’s blazing hot or you just got in from a crisp autumn walk. I’m talking about the Apple Cider Float! Seriously, this recipe uses basically two things and delivers huge flavor payoff. Forget complicated menus; this is my go-to when I need instant gratification and a little bubbly sweetness.

Why You Will Love This Quick Apple Cider Float Recipe
I’ve tried making fancy layered desserts, and while they look pretty, sometimes you just want something *now*. This float hits that sweet spot every single time. It’s foolproof, I promise. You can’t mess this one up, even if you’re trying!
- Speed and Simplicity: We are talking 5 minutes total. Maybe less! You don’t even need to turn the oven on. This Apple Cider Float is assembly only. It’s the perfect cool-down treat after a busy day.
- Minimal Ingredients for Your Apple Cider Float: You only need two main components from the store. That’s it! No weird obscure syrups or specialty vinegars required. Grab good cider and good ice cream, and you’re set.
- Perfect Seasonal Versatility: While this screams fall, I make these in July when I want something sweeter than traditional root beer. It’s wonderfully tart and creamy all year long.
Speed and Simplicity
Honestly, the total time listed is almost generous. Get your glasses out, pour, scoop. Done! If you have kids helping, they can definitely manage this. There is zero cooking involved, which means cleanup is just a couple of spoons and glasses. You certainly don’t need any special equipment for this Apple Cider Float.
Minimal Ingredients for Your Apple Cider Float
My pantry usually has a bunch of half-used odd spices, but you don’t need any of that complexity here. The magic truly comes from the flavor interaction between the sparkling, tart cider and that vanilla creaminess. Two ingredients means your budget stays happy, and you don’t have to worry about specialty grocery runs.
Essential Ingredients for the Perfect Apple Cider Float
Look, you know I usually have flour dusting my counters, but this recipe is the ultimate sigh of relief because the ingredient list is tiny! I want you to focus on quality here, because when there are only two things involved, they both really need to shine. Don’t stress yourself out trying to find anything complicated, though—we’re keeping this super simple and delicious.
Ingredient Clarity for Your Apple Cider Float
You only need two things, but the temperature matters! Make sure your apple cider is already really cold—like, refrigerator cold—before you even think about scooping ice cream. Warm cider makes a sad, foamy mess we want to avoid!
- Chilled Apple Cider: You’ll need 4 cups for four servings. If you can find a really clear, bright cider, that’s what I suggest. The better the cider tastes on its own, the better your float will taste!
- Vanilla Ice Cream: Stick with 4 good, solid scoops of vanilla. You want a quality ice cream here. The creaminess balances the tartness of the apple perfectly.
Assembling Your Refreshing Apple Cider Float
Okay, this is the fun part, but timing is everything! I cannot stress this enough: you have to assemble these floats right before you plan to drink them. If you try to prep them even ten minutes ahead, you’ll end up with a sweet, slightly disappointing puddle instead of a glorious, frothy dessert drink. We want that immediate, explosive fizz!
Step-by-Step Instructions for the Apple Cider Float
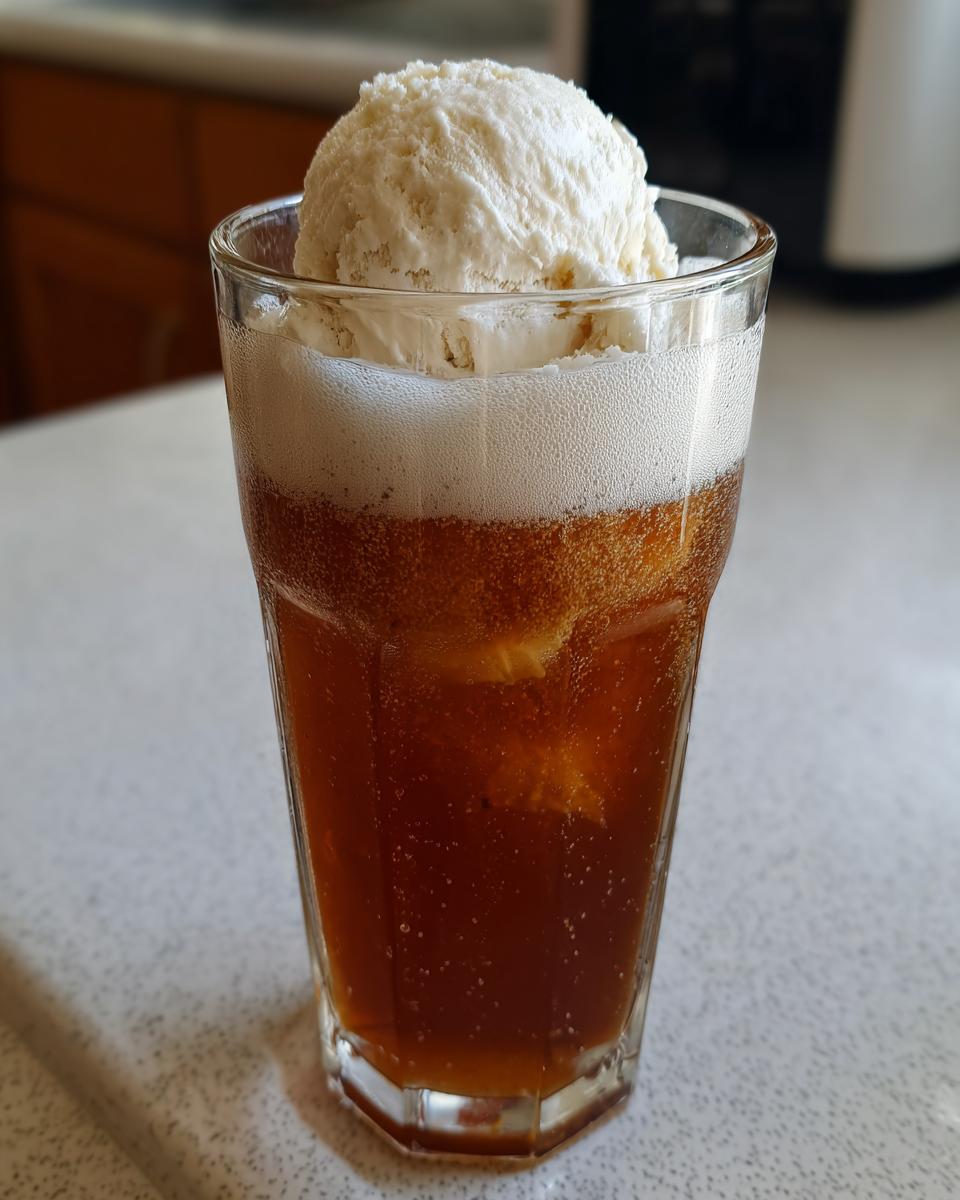
Grab some nice, tall glasses for this—the presentation really makes a simple dessert feel special. Here’s my method for getting the best ratio without total disaster when the fizz hits.
- First, pour about one cup of that super-chilled apple cider into the bottom of each tall glass. Pour slowly down the side of the glass! This trick helps reduce initial foaming way more than pouring straight down the middle.
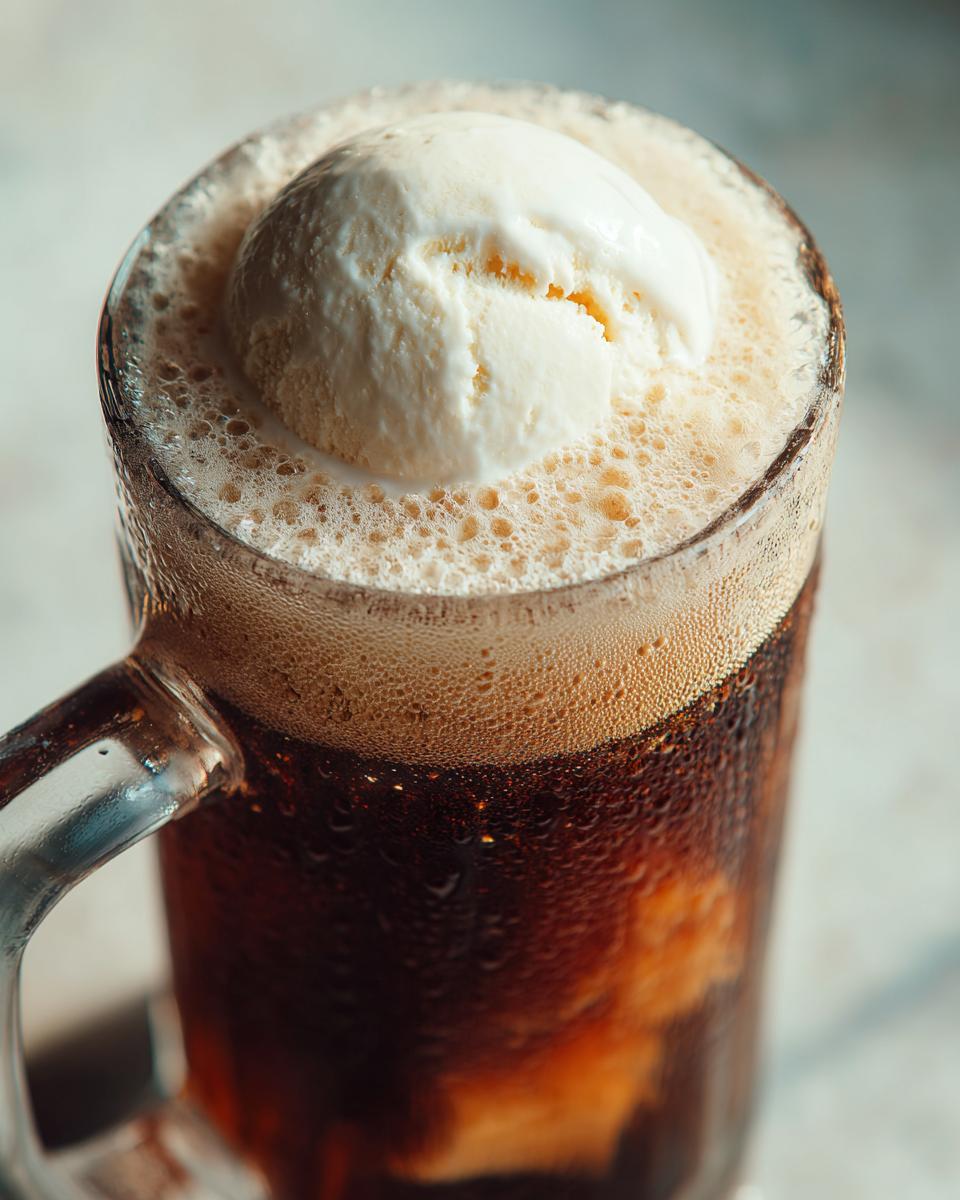
- Next, carefully drop one generous scoop of vanilla ice cream right on top of the cider. Don’t try to wedge it in; just gently place it so it starts melting right into the bubbles.
- Serve immediately! Grab a long spoon and a straw, and enjoy the show. I honestly think watching the foam rise is half the fun of this refreshment. If you want to see how other awesome floats come together, check out this peppermint version for inspiration!
Expert Tips for the Best Apple Cider Float Experience
Even though this recipe is ridiculously easy—just two ingredients!—there are a few secrets I’ve learned over the years that turn a decent float into a truly fantastic one. These aren’t complicated chemistry; they are just good kitchen sense that ensures you get the best fizz and the best flavor harmony. You want that sharp cider bite softened by real vanilla, not just lukewarm apple juice.
Temperature Control for Your Apple Cider Float
This is my number one piece of advice, so pay attention! Your apple cider needs to be ice-cold. I mean, pull it out of the fridge and if it doesn’t send a slight shiver down your arm, it’s not cold enough. If your cider warmth is lukewarm, the ice cream melts instantly, and you end up with slightly bubbly apple soup instead of a proper float. Don’t risk it! If you’re rushing and the cider is room temperature, stick the bottle in the freezer for about 15 minutes before you start assembly. You need that shock of coldness when the ice cream hits.
Choosing the Right Glass for Your Apple Cider Float
Forget short tumblers for this one. You need height! For the best visual effect and to handle the inevitable foam explosion when the soda meets the ice cream, I rely on tall, sturdy glasses. Think classic soda fountain style, or even a nice, straight pint glass. This gives you room to pour the cider, drop the ice cream, and still admire the layers before you start sipping. Plus, serving your Apple Cider Float in a tall glass makes it look way more impressive than it actually is!
If you are looking for a fun, bubbly non-float alternative, you absolutely have to check out my recipe for amazing spiced apple soda. It uses similar flavors but gives you that spicy kick!
Variations on the Classic Apple Cider Float
You know I love the original recipe—it’s perfect simplicity—but sometimes, you just need to switch things up, right? Just because we are working with two main ingredients doesn’t mean we can’t get creative! These little tweaks take zero extra time but add a whole new dimension to your regular Apple Cider Float. Think of these as my little personal upgrades when I want to impress someone without actually trying hard.
Spice Up Your Apple Cider Float
This is the easiest way to make it feel instantly autumnal, even if it’s 90 degrees outside! When you place that scoop of vanilla ice cream onto the poured cider but *before* you hand it over, just grab your spice rack. A tiny, tiny dash of ground cinnamon or even a little dusting of nutmeg right over the top of the ice cream gives off the most amazing aroma.
It melts slowly down into the float, warming up that vanilla creaminess just slightly. Trust me, people notice those little aromatic details. It goes from “nice cold drink” to “cozy holiday evening” in about two seconds flat!
Alternative Ice Cream Flavors for the Apple Cider Float
While classic vanilla is my number one faithful companion for this float, sometimes I crave something deeper. This is where you can really customize your next Apple Cider Float!
- Caramel Swirl: If you have a vanilla ice cream that has a heavy caramel ribbon throughout, that works beautifully. The slight saltiness of the caramel is amazing with the crisp apple flavor.
- Cinnamon Ice Cream: If you can find a good cinnamon ice cream (or even pumpkin spice if you’re feeling adventurous!), use that instead of vanilla. It triples down on the cozy factor and pairs perfectly with the tart cider base.
Just remember, whatever flavor you choose, make sure it’s firm when you drop it in. We want bubbles and slow melting, not instant soup!
Serving Suggestions for Your Apple Cider Float
Because this float comes together in mere minutes, it’s mostly a wonderful standalone treat all by itself. It’s the perfect, refreshing finish to a big meal, or honestly, sometimes it *is* the meal when I’m just needing a quick sweet fix! You don’t want anything too heavy sitting next to something so light and fizzy, or it just feels like overkill.
If you absolutely feel like you need something beside your cold, creamy glass, keep it simple and slightly crumbly. Think about textures that contrast nicely with the smooth ice cream and the sharp liquid underneath. We aren’t bringing out a huge pie or anything heavy after this!
- Simple Shortbread Cookies: I love serving these floats alongside a couple of simple butter shortbread cookies. They are the perfect vehicle for dipping into the melted vanilla cream as you sip the last of the apple cider. Shortbread never competes with the main flavor profile.
- A Light Crumb Bar: If you happen to have one of my basic coffee cake recipes on hand—you know, the one with the super buttery topping—a small square of that works well too. You get that warm cinnamon scent mixing with the cold apple, and I just adore that contrast! You can find the recipe for that right here. It’s light enough that it doesn’t weigh you down.
- Just Eat It Standing Up! Seriously, sometimes the best pairing is just enjoying it right away, standing over the sink or counter while watching it foam up. It’s meant to be impulsive, so don’t feel obligated to make a whole spread for it!
Storage and Reheating Instructions for Apple Cider Float Components
Well, if you managed to have any leftovers—which honestly, I doubt because this Apple Cider Float is way too easy to devour immediately—you’re probably wondering how to save the components. Since this is one of those magical assembly-only drinks, we can’t really reheat anything once it’s mixed, because that would just turn into warm, flat cider. Yuck!
The key here is keeping the ingredients separate and happy until you’re ready for your next quick fix. Planning ahead is half the battle, even when it comes to a super fast dessert like this!
Storing Leftover Apple Cider for Your Next Apple Cider Float
If you only made two floats instead of four, you still have half a pitcher of that lovely apple cider to save. This is the most important part to store correctly so it retains its bubbly zest for the next time you want to make an Apple Cider Float.
- First thing: ditch the original container if it’s flimsy or you’ve left the cap off while pouring. Transfer the remaining cider into an airtight container. You want to keep as much of that crisp air in there as possible!
- Put it right back in the fridge. Keep it tightly sealed, preferably toward the back where it stays the coldest.
Now, for how long it lasts—even the best quality cider starts to lose its punch after a while. I always say aim to finish up that leftover cider within about a week. Any longer, and it starts tasting a little tired, and you want that sharp, bright flavor for your next float experience. Don’t waste a drop; just make another float soon!
Frequently Asked Questions About the Apple Cider Float
If you’re like me, sometimes you have questions even after reading all the juicy details! It’s totally normal, especially when you’re working with a recipe this beautifully simple. We want to make sure your next Apple Cider Float turns out perfect, so I gathered up some of the questions I always get asked when I serve these up at home.
Can I make the Apple Cider Float ahead of time?
Oh, I wish you could! But no, you really shouldn’t. This is the biggest secret to a great float experience: assembly has to happen right at the moment you plan to serve it. If you pour the cider and add the ice cream even ten minutes before you sit down, you’ll end up with a lukewarm, slightly sad pool of sweet apple juice where a magnificent, frothy dessert should be. We need that immediate fizz when the cold ice cream meets the cold cider!
What is the best type of ice cream for an Apple Cider Float?
Vanilla is the total classic here, and I stick to a good quality vanilla bean because it adds that wonderful creamy texture without fighting the apple flavor. However, if you want a little extra kick, try a premium cinnamon ice cream. It leans right into the cozy fall spices we love! I actually have a super soft apple cookie recipe that would be amazing served alongside one of these floats, if you’re looking for a little something extra.
Can I use sparkling water instead of cider?
You absolutely *can*, but then it stops being an Apple Cider Float, doesn’t it? If you use sparkling water, you’re making a standard ice cream float, and you’ll need to add apple flavor somehow—maybe with a teaspoon of apple extract mixed into the water? I highly recommend sticking to the cider though; the natural sweetness and slight tartness of the cider are what makes this combo so legendary. Don’t mess with perfection!
Why did my float foam up so much?
That big volcano eruption usually happens for one of two reasons, and they are easy fixes! First, check your temperature. If your apple cider wasn’t chilled enough, the temperature shock hitting the ice cream is too much, and it fizzes violently. Second, check how you poured the cider. If you pour it straight down the middle without tilting the glass, you push too much air in. Next time, really try to pour that cider slowly down the inside edge of your tall glass!

Nutritional Estimates for One Apple Cider Float Serving
Okay, let’s talk numbers for a second. Since this dessert is basically just apple cider and ice cream, I know it’s going to be heavy on the sugar, but wow, it’s worth it for that nostalgic flavor explosion! I ran the numbers on a standard serving size just so you have a rough idea of what you’re enjoying. Remember, this is just an estimate because the actual nutrition totally depends on the brands of ice cream and the sweetness of your cider.
Please take these figures with a grain of salt—or maybe a sprinkle of cinnamon instead! These numbers reflect one serving, based on the 4-cup cider to 4-scoop ice cream ratio we used.
- Serving Size: 1 float
- Calories: Around 250 calories—pretty reasonable for a dessert, right?
- Sugar: This is where the bulk comes from, so expect about 45g. That’s typical for any sweet, fizzy treat like this.
- Fat: About 6g total, with 3.5g coming from the saturated fat in the ice cream.
- Carbohydrates: Right around 48g.
- Protein: We get a tiny boost from the dairy, about 4g.
- Sodium: Very low, usually just 40mg.
It’s a simple treat, and compared to a slice of heavy cake, this float is actually pretty light, even with the sugar content. No fiber here, but that’s just how those creamy, bubbly drinks go!
Print
Apple Cider Float
- Total Time: 5 min
- Yield: 4 servings 1x
- Diet: Vegetarian
Description
A simple, refreshing dessert made with chilled apple cider and vanilla ice cream.
Ingredients
- 4 cups chilled apple cider
- 4 scoops vanilla ice cream
Instructions
- Pour one cup of chilled apple cider into each of four tall glasses.
- Top each glass with one scoop of vanilla ice cream.
- Serve immediately.
Notes
- Use high-quality, clear apple cider for the best flavor.
- If the cider is not cold enough, chill it in the refrigerator before assembling the floats.
- Prep Time: 5 min
- Cook Time: 0 min
- Category: Dessert
- Method: Assembly
- Cuisine: American
Nutrition
- Serving Size: 1 float
- Calories: 250
- Sugar: 45g
- Sodium: 40mg
- Fat: 6g
- Saturated Fat: 3.5g
- Unsaturated Fat: 2.5g
- Trans Fat: 0g
- Carbohydrates: 48g
- Fiber: 0g
- Protein: 4g
- Cholesterol: 15mg
Keywords: apple cider, ice cream float, vanilla, cold drink, simple dessert