
Listen, trying to feed your companion when their diet requires that primal, robust edge is a nightmare. You open those big bags of commercial food and just smell the fillers—not exactly what a serious creature needs when the moon is full, right? That’s why I finally threw my hands up and developed this recipe. Trust me, finding high-quality fuel that meets those unique demands is tough, but this Simple Werewolf Kibble recipe is my answer. It cuts right to the chase: nutritious, satisfying, and unbelievably easy to whip up. This homemade **Werewolf Kibble** is the game-changer your whole routine needs.
Why This Simple Recipe for Werewolf Kibble Works So Well
When you’re dealing with special dietary needs, you don’t need complexity; you need quality. This recipe is fantastic because it uses ingredients I can actually trace, which gives me peace of mind. We aren’t messing around with fillers—we’re aiming for pure power! It’s all the good stuff, without the fuss of specialty equipment. It’s honest food, plain and simple, and it gets the job done remarkably well every time.

- We get fantastic results with minimal effort, which is crucial when you have a busy schedule.
- Everything we’re using is high-quality, something you can feel good about serving up.
- It’s a baked kibble, so it holds its shape beautifully, unlike some mushy homemade attempts I’ve tried! You can check out some of my thoughts on safe ingredient guides here if you’re looking for other special treats.
Quick Prep Time for Your Werewolf Kibble
Prep time is the best part: only 10 minutes! Seriously, it takes me longer to grate the veggies for my own dinner most nights. You just mix and spread. That’s it. You can have the whole batch mixed up before your companion even finishes their evening patrol.
Nutrient-Dense Ingredients in Werewolf Kibble
Because we’re using ground venison, you’re getting a huge hit of lean protein right off the bat. That’s muscle fuel! Combined with the slow-releasing energy from the oatmeal and the natural vitamins from the carrots, this **Werewolf Kibble** is surprisingly low in fat but incredibly sustaining. It’s the perfect foundation for their daily energy needs.
Gathering Ingredients for Homemade Werewolf Kibble
Okay, let’s talk ingredients. This is where we build the core quality of our **Werewolf Kibble**. I’ve kept the list super short so you don’t have to trek all over town searching for obscure items. Remember, clarity here builds trust between us, so pay attention to the details on how things need to be prepped!
You’ll need two full cups of ground venison—that’s our protein powerhouse. Then, grab one cup of cooked oatmeal; make sure it’s cooled down a bit, please! For moisture and those essential vitamins, we’re using half a cup of pureed carrots. Don’t just chop them! Puree them well so everything binds together nicely. Next is the liquid: a quarter cup of bone broth—I use a low-sodium one, always. Finally, we throw in one tablespoon of flaxseed meal for richness. It sounds simple, but these five things create nutritional magic!
If you’re interested in other simple, whole-food recipes, I love sharing tips on things like easy zucchini fritters—it’s all about keeping the prep time down!
Ingredient Notes and Substitutions for Werewolf Kibble
Now, I know venison is perfect, giving us that lean edge, but don’t panic if your hunter didn’t bring home a deer this week. You can absolutely swap that out for ground beef or even ground turkey. Just try to stick to the leaner cuts if you can, because we’re aiming for low fat here!
My big expert tip? If you’re using ground meat other than venison, try to drain off any excess fat after cooking if you have to cook it first—though buying pre-ground lean meat works best. The flaxseed meal is important because it’s what helps lock in those good fatty acids, so don’t skip it! Keep your ingredients fresh, and your kibble will last longer, too.
Essential Equipment for Making Werewolf Kibble
You don’t need a commercial kitchen for this, thank goodness! Since we’re focusing on simplicity for our **Werewolf Kibble**, the equipment list is blessedly short. This keeps cleanup fast, which, let’s be honest, is a major win when you’re feeding something that might occasionally track mud into the house.
First up, obviously, the oven. We’re baking this, not dehydrating it over a campfire! You’ll need a sturdy baking sheet—the bigger the better so you can spread the mixture thinly for even cooking. Parchment paper is non-negotiable; trust me, nothing sticks worse than a high-protein mix, and you do *not* want to scrape that off.
Then, for mixing, just grab your largest bowl—you need room to incorporate everything without making a huge mess. I usually use a big wooden spoon or a stiff spatula for the initial mixing, especially when dealing with the sticky oatmeal and ground venison.
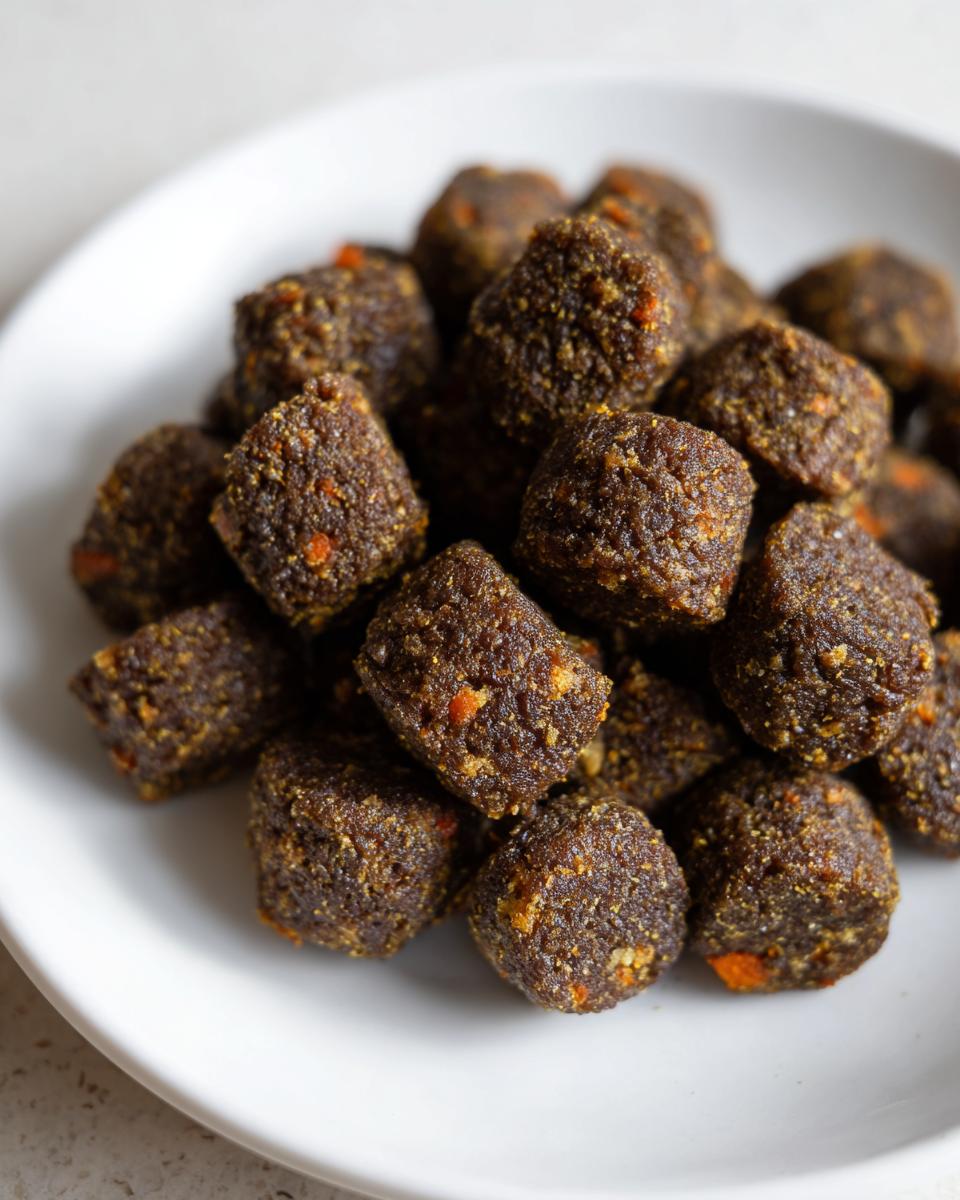
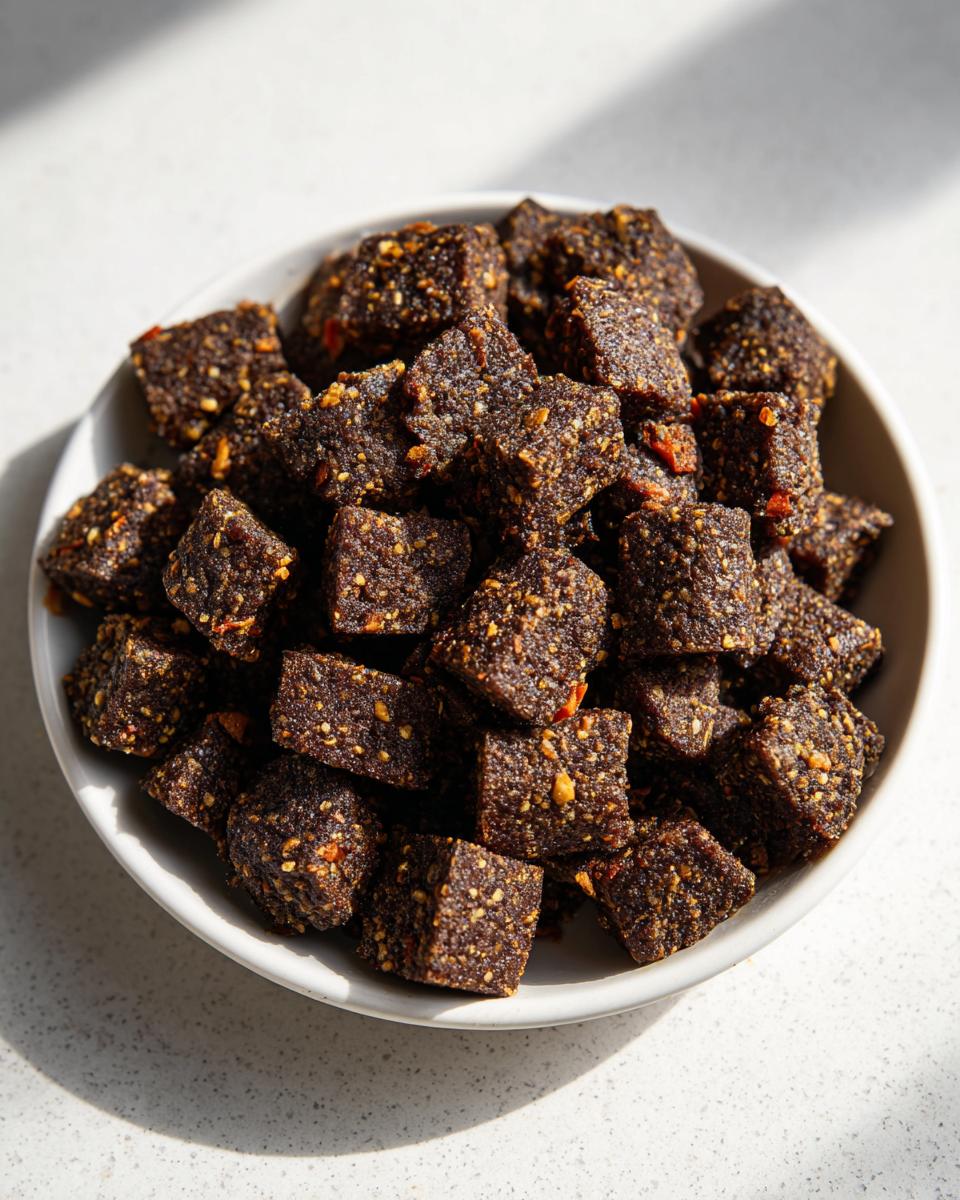
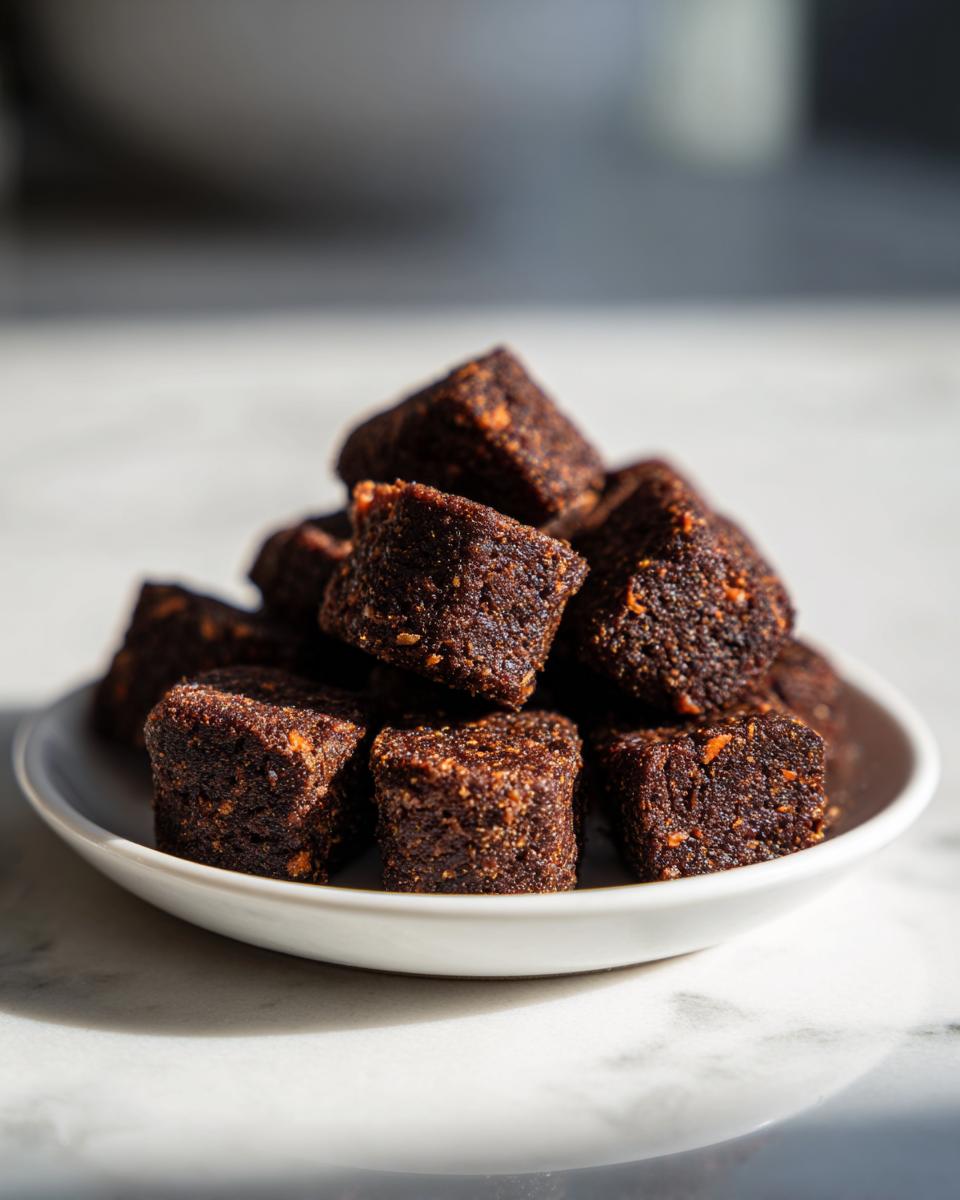
Once it slides out of the oven, grab a sharp knife or a pizza cutter to slice it into those perfect, bite-sized pieces. If you happen to have a hand blender or immersion blender for pureeing those carrots, that’s a lifesaver, though a standard food processor works just fine too. If you’re curious about other times an immersion blender can save your bacon, check out some ideas here! It’s all about using the right tool for the job without overcomplicating things.
Step-by-Step Instructions for Baking Your Werewolf Kibble
Alright, let’s get serious. This is where the magic happens, transforming your five ingredients into ready-to-eat power fuel. If you followed the equipment list, you should be all set up. Remember, even though this is simple, precision still matters! We need that base spread just right so that every piece of **Werewolf Kibble** bakes evenly. I’ve linked to my guide on baking things quickly—like baking a dog birthday cake in 25 minutes—because speed matters when you’re hungry!
First things first: get your oven up to temperature. Preheat your oven to 350 degrees Fahrenheit. Don’t cheat this step; if it’s not hot enough, the moisture won’t evaporate correctly, and you might end up with a dense brick instead of delightful kibble.
Mixing and Spreading the Werewolf Kibble Base
Now for the mixing! In that big bowl you grabbed, dump in your ground venison, your nicely cooked oatmeal, that smooth pureed carrot mixture, the bone broth, and finally that tablespoon of flaxseed meal. I swear, it looks weird at first, almost like thick meatloaf mix, but that’s okay!
You need to mix it truly well. Keep folding and stirring until everything is fully incorporated. I mean it—no dry pockets of oatmeal or streaks of broth should remain. When it looks uniform, transfer that glorious mixture onto your parchment-lined baking sheet. Spread it out evenly so it’s about half an inch thick across the entire surface. A flat, even surface means perfect baking!
Baking and Finalizing the Werewolf Kibble Pieces
Time to bake! Slide that sheet into the preheated oven and set your timer for 25 minutes. Resist the urge to open the door and peek! After 25 minutes, pull it out. It should look firm and cooked through. It might still feel a little soft right out of the heat, and that’s normal!
Let it cool on the pan for just a few minutes so it firms up a bit more. Then, carefully lift the parchment paper onto a cooling rack. Now, while it’s still slightly warm but safe to handle, use that sharp knife or cutter to slice the entire slab into small, bite-sized pieces—whatever size works best for your favorite beast. The most important part? Let those pieces cool completely before you store them away. If you try to store warm kibble, you’re basically steaming it, and that encourages spoilage way too fast!
Tips for Perfect Batch of Werewolf Kibble
You nailed the basic recipe, which is fantastic! But if you want to go from “good” to “the only thing they’ll eat,” you need a few little secrets. These aren’t official steps in the recipe, they’re just things I learned after the first few batches when my kibble came out uneven or didn’t last quite as long as I hoped. These little adjustments take your **Werewolf Kibble** from standard to spectacular!
My first major pro-tip involves thickness. When you spread that mixture onto the baking sheet, getting it perfectly flat is the hardest part. If one edge is half an inch thick and the other is a quarter inch, what happens? The thin parts dry out into dust while the thick parts stay chewy and possibly spoil faster. I use the back of an offset spatula to gently press it down until it feels consistently level. Think of it like smoothing frosting—it just needs a little care!
Secondly, don’t rush the ingredient blending, even if you’re in a hurry. You need that bone broth fully absorbed by the oats and meat before it hits the heat. If you see any watery spots lingering, keep mixing! If you’re dealing with meat that had more moisture than usual, I sometimes add a *tiny* extra half-tablespoon of flaxseed meal just to bind everything tighter. It helps soak up any rogue liquids and guarantees a sturdy bite. Speaking of mistakes to avoid, I wrote a whole piece about the number one mistake people make in baking that definitely applies to keeping your kibble uniform!
Finally, the cooling step is critical for storage longevity. If you cut the kibble while it’s still hot, the pieces often crumble because they haven’t fully set their structure. And if you store warm pieces, condensation happens inside the container, which is basically an invitation for things to go sour. Cool them *completely*—like, leave them on the counter on that rack overnight if you have to—before snapping on that airtight lid!
Storage and Reheating Werewolf Kibble
So, you made a huge batch of my awesome **Werewolf Kibble**—good for you! Now, we need to make sure it stays fresh and safe for those hunger pangs between full moons. Since this recipe relies on healthy, whole ingredients rather than heavy preservatives, storage is key!
The basic rule I stick to is air-tightness. Once those pieces are totally cooled down—and I mean stone cold, not even slightly warm—you need to transfer them right away into an airtight container. No big Ziploc bags loosely tied, please! That lets in air, and we want to avoid that.
When stored correctly in the refrigerator, this simple **Werewolf Kibble** will last happily for up to one full week. I generally find that if I’m making a big yield, I’ll use one container for the week and freeze the rest, but for short waits, the fridge is perfect.
Now, about reheating—here’s the easy bit: you absolutely don’t need to reheat it. This kibble is designed to be served at or slightly below room temperature, just like the stuff you buy off the shelf. It’s already fully baked! If you’re serving it on a particularly chilly morning, you *could* warm it slightly with a splash of warm water or broth, kind of like rehydrating dry food, but just mixing it in is usually enough to get their attention.
Serving Suggestions for Your Werewolf Kibble
Okay, so now you have this fantastic, healthy base—your **Werewolf Kibble**—which is robust enough to stand on its own. But hey, even the fiercest creature enjoys a little flair now and then! Since this recipe is intentionally low-fat and baked dry, sometimes a little extra hydration or flavor boost is appreciated, especially if it’s been sitting in the fridge for a couple of days.
My go-to trick is adding just a splash of lukewarm bone broth right before serving. It helps soften the kibble slightly, making it easier to chew, and it brings that savory aroma right back up to the surface. Think of it like turning a dry starter into a delicious, hearty mash! If you’re ever looking for inspiration on building flavor into comfort food, I talk a lot about making things warm and rich, kind of like my old homemade chicken noodle soup recipe—it’s all about maximizing what you already have!
Never serve it ice-cold straight from the fridge, though; let it sit out for five minutes so it gets closer to room temperature. A little warmth really opens up the flavor of the venison and oats!
Frequently Asked Questions About Werewolf Kibble
I know when you start making specialized food like this **Werewolf Kibble**, questions pop up right away. That’s totally normal! It’s better to ask than to guess when you’re feeding someone special, right? I’ve gathered the most common things I hear from folks making this simple **venison recipe** for the first time. If you have other burning questions that aren’t covered here, just shoot me a message on my contact page!
Can I freeze this Werewolf Kibble recipe?
Absolutely, you can! If you are a super-efficient baker, you should definitely plan on freezing most of your batch. Once those pieces have cooled completely to room temperature, divide them into smaller, meal-sized portions—maybe seal them in freezer bags or small airtight containers. It freezes beautifully! You can pull out a serving the night before you need it, and it thaws overnight in the fridge. It stays fresh for months this way, way longer than our one-week goal!
What is the yield of this simple pet food recipe?
This recipe is scaled perfectly for a good starter batch. When you follow the instructions exactly, you should end up with approximately 3 cups of finished **Werewolf Kibble**. That’s usually enough for a decent week or so of meals, depending on how hungry your companion is! It’s always worth making a double batch if you have the oven space, just to stock the freezer.
Is this venison recipe suitable for all canine diets?
That’s a really smart question. Because we specifically chose venison and kept the additives minimal, this turns out to be a wonderfully **Low Fat** option, which is great for many creatures. However, every single animal is unique, and needs change dramatically based on age, activity level, and specific health concerns. Please, please, please treat this homemade approach as an excellent nutritional base, but always check in with your primary veterinarian before making permanent diet changes. They know your companion’s specific needs best!
Nutritional Snapshot of Werewolf Kibble
Now, I’m not a certified nutritionist, so take these numbers with a grain of salt—literally, maybe add a grain of salt next time if you want! But when I was painstakingly calculating what this **Werewolf Kibble** was putting on the plate, I realized this batch is surprisingly balanced, especially for something so easy. This is based on the ingredients list we used, broken down by the serving size of a quarter cup.
It’s important to remember that since we’re using whole ingredients and ground meat, the final macros can shift a little based on how fatty your venison cut was, or if you swapped it for turkey. But generally, this comes out as a solid source of fuel for your companion.
Here’s the breakdown:
- Serving Size: 1/4 cup
- Calories: About 180 per serving. That’s a good energy boost without being too heavy.
- Protein: We’re looking at a solid 12 grams of protein, which is essential for recovery and muscle mass after… well, you know, after their busy nights!
- Fat: Only around 9 grams total fat, which keeps it nice and lean, exactly what we were hoping for when we chose venison.
- Carbohydrates: Around 15 grams, mostly complex carbs coming from that oatmeal and the carrots, giving sustained energy rather than a spike.
See? It ticks all the boxes for high-quality fuel! It’s a great way to ensure those low-fat, high-protein requirements are being met without relying on mystery meats. This simple **simple pet food** recipe lets you control exactly what goes into their bowl.
Print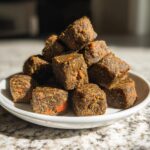
Simple Werewolf Kibble
- Total Time: 35 min
- Yield: Approximately 3 cups 1x
- Diet: Low Fat
Description
A basic recipe for homemade kibble suitable for werewolves.
Ingredients
- 2 cups ground venison
- 1 cup cooked oatmeal
- 1/2 cup pureed carrots
- 1/4 cup bone broth
- 1 tablespoon flaxseed meal
Instructions
- Preheat your oven to 350 degrees Fahrenheit.
- Combine the ground venison, cooked oatmeal, pureed carrots, bone broth, and flaxseed meal in a large bowl. Mix until fully incorporated.
- Spread the mixture evenly onto a parchment-lined baking sheet, about 1/2 inch thick.
- Bake for 25 minutes.
- Remove from the oven and let it cool slightly.
- Cut the mixture into small, bite-sized pieces suitable for kibble.
- Allow the pieces to cool completely before storing.
Notes
- Store leftovers in an airtight container in the refrigerator for up to one week.
- You can substitute venison with ground beef or turkey.
- Prep Time: 10 min
- Cook Time: 25 min
- Category: Pet Food
- Method: Baking
- Cuisine: General
Nutrition
- Serving Size: 1/4 cup
- Calories: 180
- Sugar: 2
- Sodium: 45
- Fat: 9
- Saturated Fat: 3
- Unsaturated Fat: 6
- Trans Fat: 0
- Carbohydrates: 15
- Fiber: 3
- Protein: 12
- Cholesterol: 50
Keywords: werewolf kibble, homemade dog food, venison recipe, simple pet food