
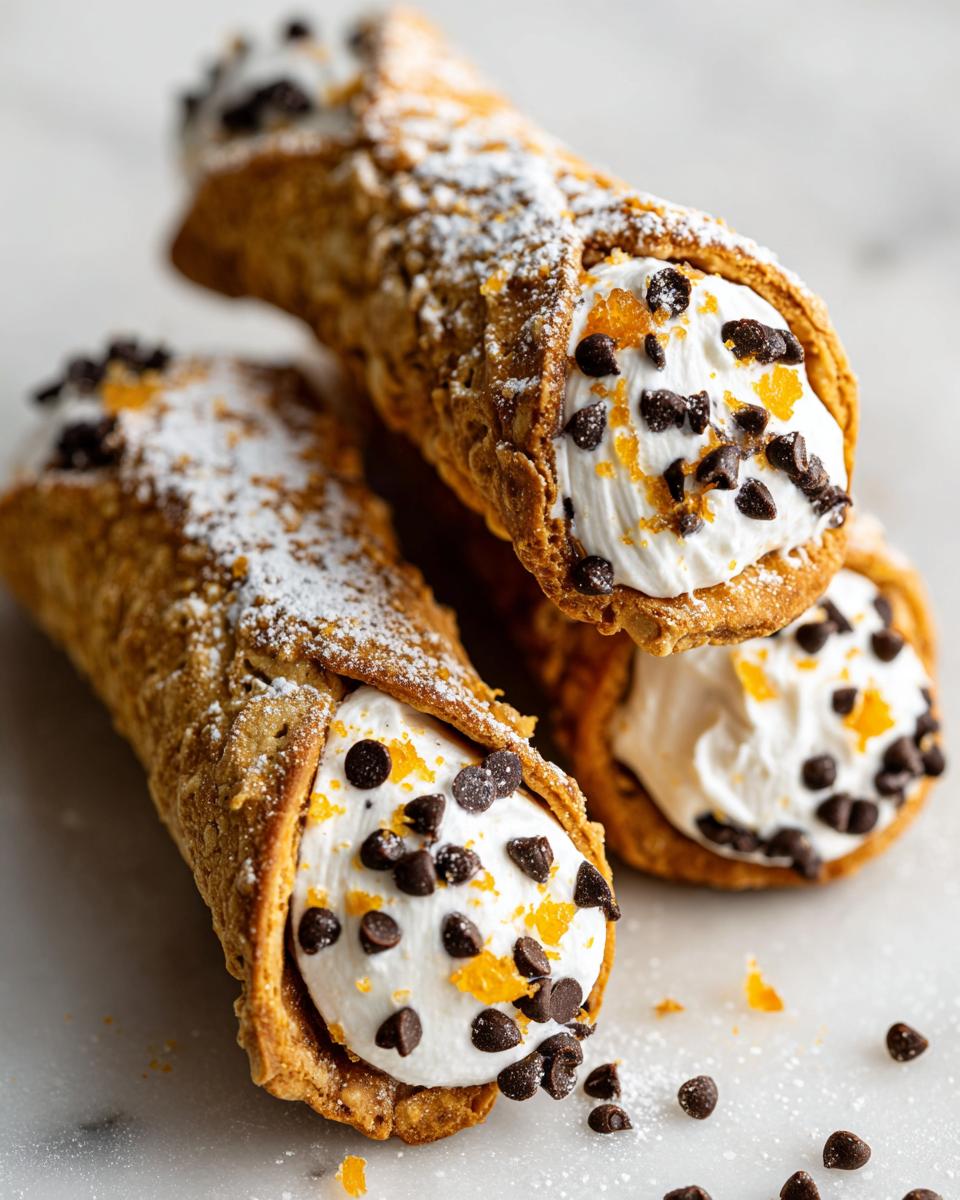
You know how much I adore diving headfirst into classic Italian desserts, but sometimes, rolling out that delicate pastry dough for an actual cannoli feels like a two-day commitment! Am I right? Well, friends, I figured out the perfect middle ground. We are taking the soul of that incredible, creamy ricotta filling and crunchy shell and shrinking it down. Say hello to my absolute favorite new obsession: Cannoli Cookies! Trust me, transforming these iconic treats into a cookie format that still delivers that perfect crunch-meets-cream sensation is pure genius. I live for taking something traditional and making it just a little bit easier for our busy weeknights.
Why You Will Love These Cannoli Cookies
Look, I know why you’re here. You want that amazing Sicilian flavor without having to deep-fry little tubes of dough! And that’s exactly what these Cannoli Cookies deliver. They hit every single note you expect from the pastry shop, but in a much more bake-sale-friendly package. They’re just ridiculously good for how simple they are.

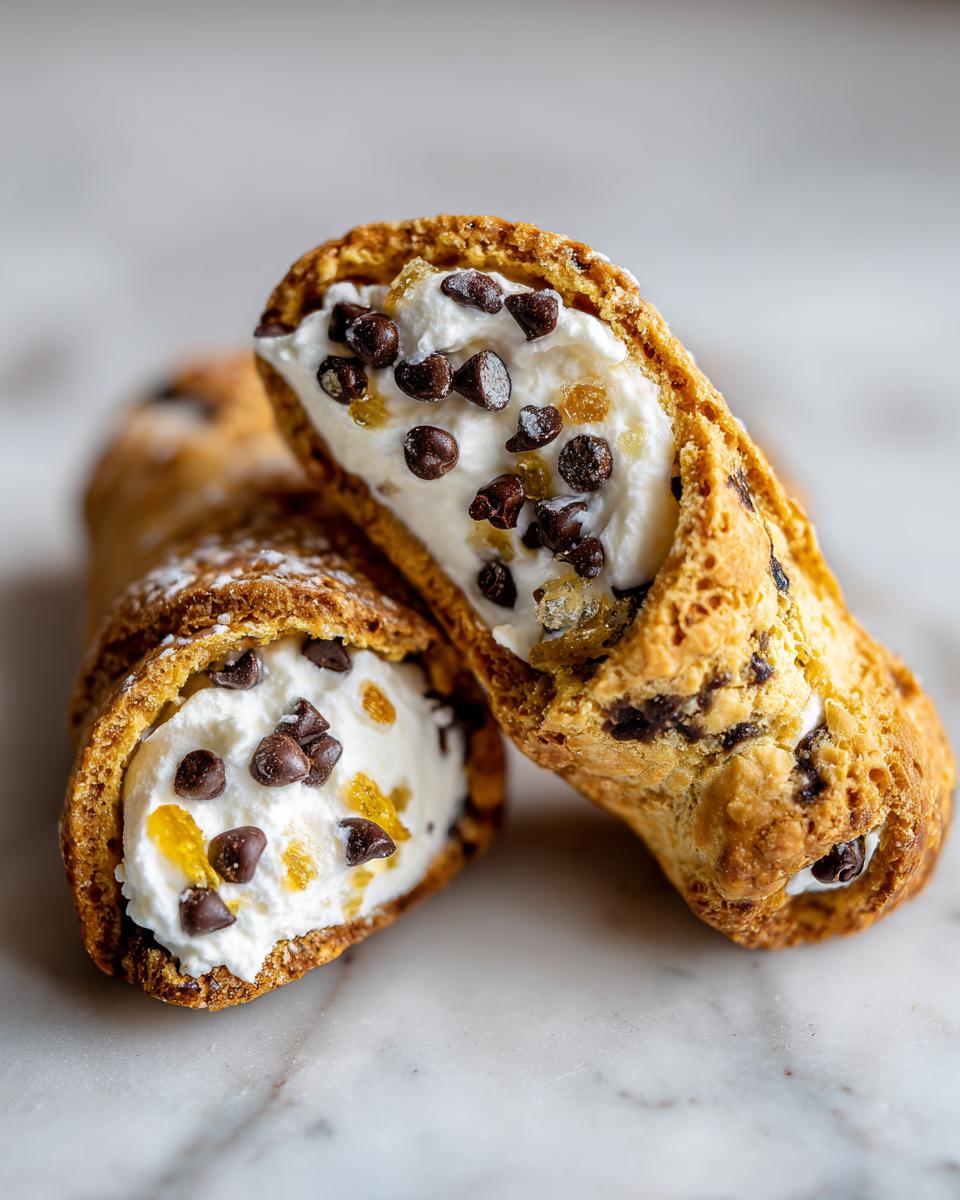
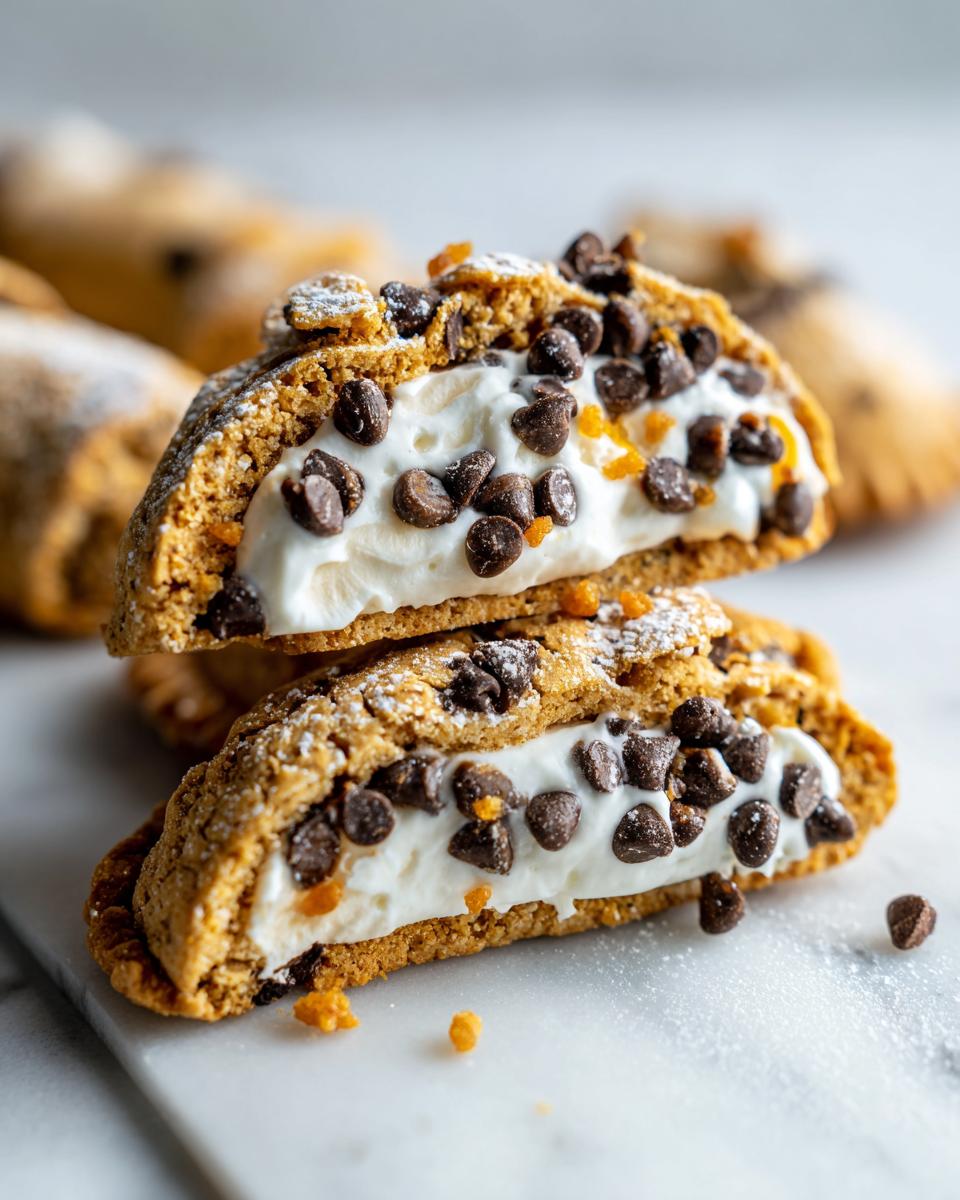
- That unbelievable textural contrast! You get the shatteringly crisp pastry shell right alongside that cool, smooth ricotta filling. It’s heaven.
- They are way less fuss than rolling out and frying full cannoli shells. Seriously, shaping these is a breeze!
- The shell dough chills fast, so these actually come together quicker than you might think. Perfect for a last-minute Italian treat!
- We still get all the classic flavor—sweetened ricotta, a kiss of vanilla, and those little bursts of chocolate studded throughout.
Honestly, what’s not to love? It’s the best of both worlds, baked up fresh in your own kitchen.
Essential Ingredients for Perfect Cannoli Cookies
Okay, let’s talk supplies. The success of these Cannoli Cookies hinges on keeping things cold for the dough and making sure that ricotta is bone-dry for the filling. Don’t even think about trying to swap the cold butter for soft butter—you’ll end up with a sad, flat shell instead of a crisp cup! Here’s the full rundown of what you need. I’ve broken it down into the shell stuff and the creamy filling stuff so you can organize your mise en place!
For the Crisp Pastry Shells of Your Cannoli Cookies
This is the foundation, so treat these ingredients with respect! You need that cold butter to create the flaky layers that give us that glorious shatter when you bite in. Seriously, don’t skip chilling that dough.
- 1 cup all-purpose flour
- 1/4 cup granulated sugar
- 1/4 teaspoon salt
- 4 tablespoons cold unsalted butter, cut into small pieces (must be COLD!)
- 1 large egg yolk
- 2 tablespoons cold water (ice water is even better if you have it!)
Crafting the Sweet Ricotta Filling for Cannoli Cookies
Now for the wonderful, sweet part! The star here is the ricotta, and it absolutely must be drained properly, or your cookies will turn into soupy messes the second you fill them. I’ve been known to cheat and use dried apricots sometimes, but the classic citrus note from candied orange peel is just stunning. If you ever need a fantastic recipe for making your own, I found this wonderful guide for amazing candied oranges.
- 1/2 cup whole milk ricotta cheese, drained (I can’t stress this enough!)
- 1/4 cup powdered sugar
- 1/2 teaspoon vanilla extract
- 1/4 cup mini chocolate chips
- 1 tablespoon finely chopped candied orange peel (this is optional magic!)
Expert Tips for Making Flawless Cannoli Cookies
You can follow every step perfectly, but if you mess up one tiny area, you can lose that perfect texture. A lot of folks rush the chilling part or use ricotta straight from the container. Don’t do it! You want these Cannoli Cookies to sing, not flop. If you’re looking for general bread-making tips while you’re hovering over the oven—though these cookies aren’t bread, the principles of mixing still apply—I sometimes reference great simple guides like this one on easy pita bread techniques.
The biggest thing is patience. If your shells are looking pale, give them another minute or two until they’re lightly tanned. If your filling looks watery, you didn’t drain your cheese long enough!
Ricotta Draining: The Key to Non-Soggy Cannoli Cookies
Listen to me: watery ricotta is the enemy of a crisp cookie cup! You absolutely must get rid of the excess liquid, or the moisture will bleed right into your beautiful baked shell, turning it soft and sad. The recipe source notes that the ricotta needs serious draining, and I whole-heartedly agree.
I usually take a fine-mesh sieve and line it with a few layers of cheesecloth or even a heavy-duty coffee filter. Dump that ricotta in there, set it over a bowl, and let it sit in the fridge for at least an hour, but honestly, three hours is better. If you can manage it overnight, you’ll have the thickest, creamiest filling that holds its shape perfectly when piped into those shells.
Step-by-Step Instructions for Your Cannoli Cookies
Alright, deep breath! It seems like a lot of steps, but when you break down making these Cannoli Cookies, it’s really just two simple baking phases—the shell and the filling. If you’re making a different kind of batch treat, like using a box base, you can check out some fun ideas over here like these cake mix cookies, but for this authentic flavor, we have to do the pastry from scratch!
Preparing and Baking the Cannoli Cookie Shells
First, we tackle that dough. You’re going to mix your flour, sugar, and salt first. Then, using your fingers or a pastry blender, cut in that cold butter until you genuinely have coarse crumbs—think very rough sand. Quickly work in the egg yolk and that cold water until it just comes together. Don’t knead it! If you overwork it, forget that crisp shell. Wrap that baby up and pop it into the fridge for 30 minutes. It needs that rest!
When that half hour is up, turn your oven to 375 degrees Fahrenheit and get those baking sheets ready with parchment paper. Roll the dough out super thin—thinner than you think it needs to be. Use a round cutter, and then gently press those circles into the cups of a greased **mini muffin tin** to create little cups. Use a fork to prick the bottoms a few times so they don’t puff up like balloons! Bake them for about 10 to 12 minutes until they look nice and pale gold. The most crucial thing here is cooling: let them hang out in that tin until they are completely cool to the touch before you *gently* try to coax them out. If you rush this, they will crack!
Assembling the Final Cannoli Cookies
While those shells are cooling down (seriously, leave them alone!), whip up the filling. Make sure your ricotta is totally drained—remember our chat above? Mix that thick ricotta with the powdered sugar and vanilla until it’s silky smooth. Now, gently fold in those mini chocolate chips and the chopped candied orange peel if you’re feeling fancy.
Once the shells are cool and out of the tin, it’s assembly time! Spoon that sweet filling right into the cookie cups. Do not skip the last step: chill them! You need to put the filled Cannoli Cookies back into the fridge for at least 15 minutes. This just lets the filling set up nicely so it doesn’t squish out when people pick them up. Then, dust with extra powdered sugar if you like, and enjoy your perfect Italian bite!
Variations for Your Cannoli Cookies
I love sticking to Grandma’s methods, but that doesn’t mean we can’t play around a little bit once we nail the basics. These Cannoli Cookies are so structurally sound that they handle little riffing really well! If you’re looking for a way to customize them for different holidays or just to keep things interesting year-round, I have a couple of easy, no-fuss suggestions that don’t mess with the integrity of the shell or the creaminess of the filling.
For instance, if you happen to be cleaning out your pantry and found some random nuts instead of chocolate chips, use them! Chopped pistachios are an absolute dream here; they add a great salty snap. And speaking of swaps, sometimes the chocolate chips just feel too heavy. If you decide to leave those out because you want to focus purely on the citrus and spice, that’s totally fine. Or, if you want to add another layer of flavor, you can always mix in some almond extract instead of vanilla, or even a tiny bit of lemon zest. It brightens up the ricotta exactly when you need it to.
If you’re experimenting with different flavors or want to try out recipes that use slightly different techniques, like these delightful chocolate chip tahini cookies, you can see how a flavor swap changes the whole dynamic. But trust me, for these Cannoli Cookies, a little vanilla, a little chocolate, and maybe some bright orange is the perfect combination!
Storing and Keeping Your Cannoli Cookies Fresh
Okay, this is the part where you have to be honest with yourself: the filling is made from fresh dairy, so we can’t just leave these little beauties sitting on the counter like regular shortbread cookies. Remember how we stressed drying out that ricotta? Well, if we leave them exposed to the air, the shell will get soggy anyway, and the dairy filling won’t be happy.
The absolute best way to store your finished Cannoli Cookies is right in the refrigerator. Keep them in an airtight container—and I mean *airtight*! You don’t want them absorbing any strange smells from your fridge, trust me. They do best when served within about 24 hours of being filled because that shell starts waging a war against the moisture from the ricotta almost immediately.
If you’re preparing for a party the next day, you can totally bake the shells ahead of time—keep them in an airtight container at room temperature for up to two days. Don’t fill them until just before serving, though! This keeps that delicious crispness intact. Seriously, if you wait longer than a day to eat the filled batches, you’ll notice they lose that initial, perfect ‘snap.’ So, make enough for one delicious day, and bake extras to fill the next morning!
Frequently Asked Questions About Cannoli Cookies
I get so many wonderful questions over on my social channels when people try this recipe for the first time! It makes total sense; we want these Cannoli Cookies to taste just like the ones from the bakery, right? Below are some of the most common things folks ask me about baking these sweet little treats. If you’re trying a new technique or maybe swapping in a vegetable instead of a dessert for dinner, like maybe making easy zucchini fritters sometime this week, it helps to have these little questions answered first!
Can I make the pastry shells for the Cannoli Cookies ahead of time?
Oh, yes, you absolutely can, and I usually recommend it! That part of the process is totally fine to do a day or maybe even two days in advance. Just bake your shells according to the instructions, let them cool completely—and I mean *completely*—and then store them in a well-sealed, airtight container at room temperature. Keep them away from anything that generates a lot of humidity. As soon as you fill them with the ricotta mixture, though, they start their clock, so only fill what you plan on eating within the next 24 hours!
What if I cannot find mini chocolate chips for the Cannoli Cookies filling?
Don’t sweat it if the mini chips aren’t in your pantry! They are just there to add little pops of chocolate, so we should focus on what else provides a nice textural difference. My favorite alternative is using chopped pistachios! They bring a subtle saltiness and a classic Italian flavor that pairs beautifully with the ricotta.
If you want something even simpler, feel free to use finely chopped dark chocolate instead of the mini chips—just make sure it’s chopped small enough so it doesn’t weigh down your filling. Sprinkles are fun too, especially if you’re making these for a kid’s event, but make sure you fold those in gently!
Estimated Nutritional Snapshot of These Cannoli Cookies
I know some of you are curious about the finer details, and while honestly, I’m usually just worried about how fast they disappear off the platter, I pulled the estimated numbers for you based on standard ingredient weight conversions. Remember, baking is an art, and your exact measurements might shift things slightly!
These figures are just a guideline for you bakers out there tracking things closely. The great thing is that since these Cannoli Cookies are rich and filling, you usually only eat one or two—which helps our totals stay manageable. Also, if you used low-fat ricotta or skipped the candied peel, your numbers will look even better!
- Serving Size: 1 cookie
- Calories: 150
- Sugar: 10g
- Sodium: 50mg
- Fat: 7g (4g Saturated Fat)
- Fiber: 1g
- Protein: 4g
So, don’t let the numbers scare you off; these are a wonderful, balanced treat for an occasional indulgence. Everything in moderation, right?
Share Your Experience Making Cannoli Cookies
Okay, now that you have a tray of these perfect, crisp-and-creamy Cannoli Cookies cooling down on your counter, I desperately want to hear about it! Seriously, there is no greater joy for me as a home cook than knowing someone else made one of my recipes and loved it.
Did the shells shatter *just* right? Was your ricotta filling perfectly stiff? Tell me everything in the comments below! Drop a star rating so other bakers know this is worth the effort—it helps so much!
And if you managed to snap a gorgeous picture of your finished batch, please tag me on social media! I love seeing different variations people come up with. If you’re looking for other fun, batch-friendly recipes to serve alongside these, you have to check out my list of fifteen perfect cookies for a backyard party. Happy baking, friends!
Print
Cannoli Cookies
- Total Time: 37 min
- Yield: 12 cookies 1x
- Diet: Vegetarian
Description
A cookie version of the classic Italian cannoli dessert, featuring a crisp shell and sweet ricotta filling.
Ingredients
- 1 cup all-purpose flour
- 1/4 cup granulated sugar
- 1/4 teaspoon salt
- 4 tablespoons cold unsalted butter, cut into pieces
- 1 large egg yolk
- 2 tablespoons cold water
- 1/2 cup whole milk ricotta cheese, drained
- 1/4 cup powdered sugar
- 1/2 teaspoon vanilla extract
- 1/4 cup mini chocolate chips
- 1 tablespoon finely chopped candied orange peel (optional)
Instructions
- In a bowl, mix flour, granulated sugar, and salt. Cut in the cold butter until the mixture resembles coarse crumbs.
- Mix in the egg yolk and cold water until a dough forms. Wrap the dough and chill for 30 minutes.
- Preheat your oven to 375 degrees Fahrenheit. Line baking sheets with parchment paper.
- Roll the chilled dough out thinly. Use a round cookie cutter to cut out circles.
- Place the circles over the bottom of a greased mini muffin tin cups, pressing gently to form a cup shape. Prick the bottom of each cup with a fork.
- Bake for 10 to 12 minutes, or until lightly golden. Let the shells cool completely in the tin before carefully removing them.
- For the filling, mix the drained ricotta cheese, powdered sugar, and vanilla extract until smooth.
- Gently fold in the mini chocolate chips and candied orange peel, if using.
- Spoon or pipe the filling into the cooled cookie shells.
- Chill the filled cookies for at least 15 minutes before serving.
Notes
- Drain the ricotta cheese well by placing it in a fine-mesh sieve lined with cheesecloth for at least one hour.
- You can dust the finished cookies with extra powdered sugar before serving.
- Prep Time: 25 min
- Cook Time: 12 min
- Category: Dessert
- Method: Baking
- Cuisine: Italian
Nutrition
- Serving Size: 1 cookie
- Calories: 150
- Sugar: 10
- Sodium: 50
- Fat: 7
- Saturated Fat: 4
- Unsaturated Fat: 3
- Trans Fat: 0
- Carbohydrates: 19
- Fiber: 1
- Protein: 4
- Cholesterol: 30
Keywords: Cannoli Cookies, ricotta filling, Italian cookies, pastry shells, chocolate chip cookies