
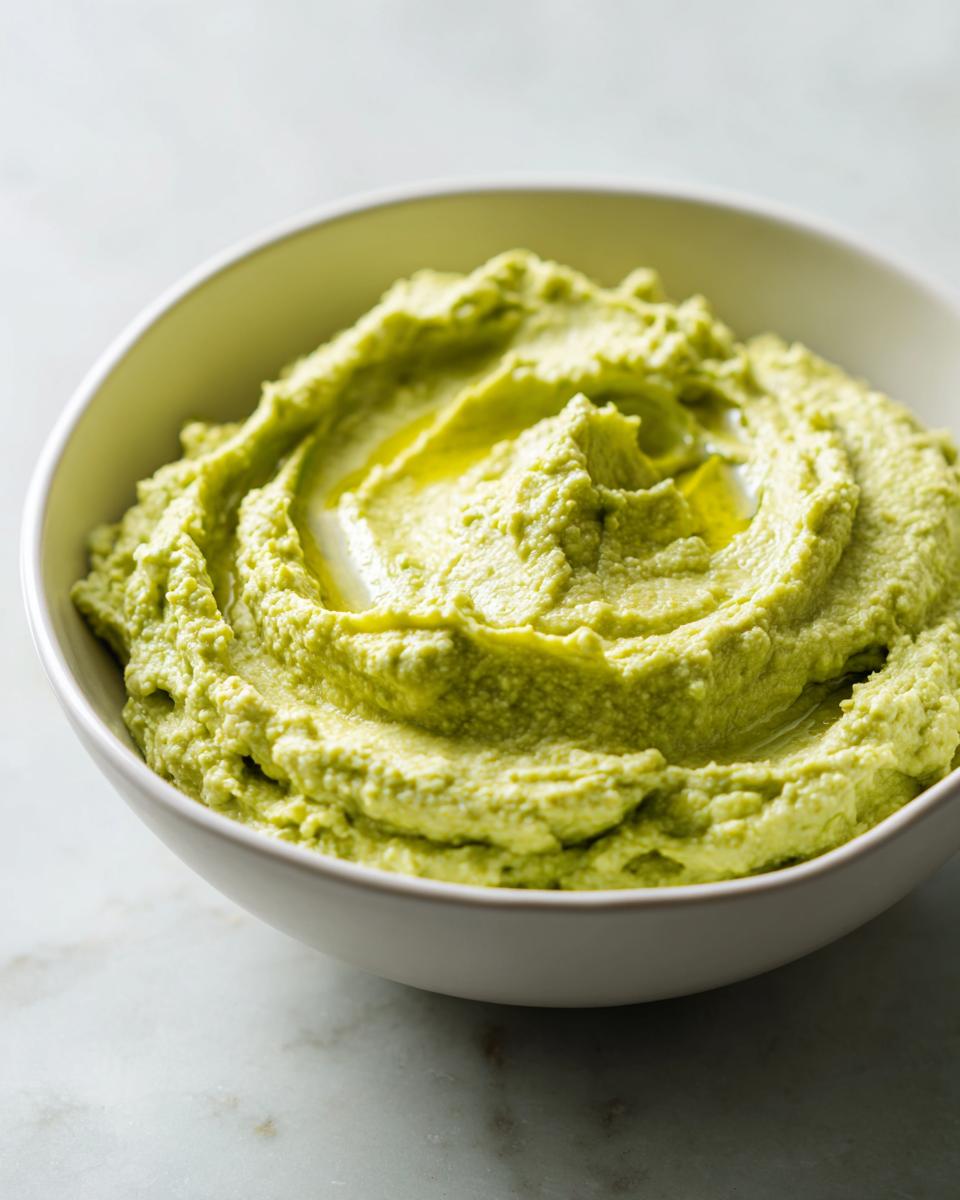
Honestly, I think I’ve made every dip under the sun in my kitchen—from slow-cooked artichoke dips to about a million batches of classic hummus. And while you can never go wrong with chickpeas, sometimes my taste buds just beg for something new, something brighter! That’s when I pull out the freezer bag of shelled edamame for this show-stopping **Edamame Hummus**. It whips up faster than you can find the pita chips, and the texture is just *so* luxurious. Because edamame is naturally creamier and slightly sweeter than its chickpea cousin, you get this vibrant green color and an incredible, smooth mouthfeel. Trust me, once you try this quick, nutrient-packed dip, you’ll be making it your new regular!

Why This Edamame Hummus Recipe Stands Out
This isn’t just another batch of dip thrown together; this **Edamame Hummus** really shines next to the usual suspects. It’s my go-to when I need an impressive appetizer in a total flash. Seriously, it’s a 10-minute wonder!
- It whips up faster than I can clean my kitchen counters after making my crazy easy chickpea salad.
- The flavor is beautifully bright because those beans are naturally sweeter than chickpeas—it perks up the tahini perfectly.
- We’re talking a great boost in protein and fiber compared to standard recipes. It just feels healthier!
Ingredients for Perfect Edamame Hummus
The ingredient list here is short, which is why the quality of each item matters so much! You can’t hide anything in a recipe this simple. I make sure the edamame beans are already cooked and totally cool—don’t even think about using them warm, or you’ll end up with soupy paste!
You absolutely must use fresh lemon juice; that bottled stuff just tastes flat here. We need that zing! Everything else, like the tahini and that single clove of garlic, works together beautifully.
- 1 cup shelled edamame, cooked and cooled
- 1/4 cup smooth tahini
- 2 tablespoons lemon juice, always squeezed fresh!
- 1 clove garlic, peeled
- 2 tablespoons good olive oil
- 2 tablespoons water (we add this slowly!)
- 1/4 teaspoon salt, or to taste
- A small pinch of black pepper
It’s so easy to serve this alongside some fantastic carrot sticks with spicy hummus, but this edamame version is a winner all on its own.
Essential Equipment for Making Edamame Hummus
You really can’t get past needing one mighty machine here: a food processor. That’s the secret weapon for getting that perfect, velvety smooth texture we’re aiming for, especially with those slightly firmer edamame beans.
Don’t panic if the food processor is currently hosting your last batch of cookies! A high-speed blender will certainly step up, though you might need to be a little more generous when adding that water to get it moving. I actually have a whole post about my favorite immersion blender recipes, but for hummus, the wide base of a processor wins!
Step-by-Step Instructions for Your Edamame Hummus
Okay, this is the fun part! It all comes together in about three minutes once everything is prepped. Remember, the food processor is going to do all the heavy lifting here, but you need to pay attention during the liquid additions—that’s where we control the magic.
Combining the Base Ingredients
First things first, toss everything that isn’t water into the bowl of your food processor. We’re talking the cooled edamame, the tahini, your splash of lemon juice, that single garlic clove, the olive oil, the salt, and the pepper. You’re going to pulse this a few times just to get things moving and chopped up before you let the machine truly work its wonders. It’ll look crumbly at first, like coarse wet sand, which is totally normal.
Achieving the Ideal Edamame Hummus Consistency
Now, turn the machine on steadily. Let it run until the mixture starts clumping together nicely. This is where you need patience! Grab your measuring spoon for the water. You’re going to add it, one tablespoon at a time, while the processor is still running. Watch it closely! As the water mixes in, you’ll see that grainy mixture suddenly turn into that beautiful, pale green, creamy spread we all dream about. Stop when it looks gorgeous enough for you—some people like it thick, some like it loose.
Final Seasoning and Serving
Once you hit peek texture, turn the machine off and grab a clean spoon for a taste test. This is crucial! Does it need more zing? Add a few more drops of lemon. Not salty enough? Give it a tiny pinch more salt. Blend one last time for five seconds after adjusting. Then, you can serve it straight away—it’s delicious warm—or cover it up and chill it for an hour. Chilling makes it firm up just a touch, which I actually prefer!
Expert Tips for Next-Level Edamame Hummus
I’ve spent a lot of time refining simple dips, and trust me, the little tweaks make all the difference between good hummus and *amazing* hummus. If you want to really blow people away with this **Edamame Hummus**, I have a couple of secrets I rely on. First, if you want flavor that really pops, try tossing in just a tiny sliver of fresh ginger right along with the garlic. It adds this clean, bright background note that complements the green beans perfectly!
Another thing I keep hearing about is people struggling with high-powered blenders versus food processors. If you are stuck using a blender, just remember that the walls of the blender cup get sticky quickly. You’ll need to stop scraping down the sides way more often and probably use that extra tablespoon or two of water just to keep things circulating.
And finally, don’t forget to adjust the seasoning at the very end. Tahini brands vary so much! Taste it naked—no crackers allowed—before you serve it. That’s the only way to know if it needs that last squeeze of lemon or that final dusting of salt.
Serving Suggestions for Your Edamame Hummus
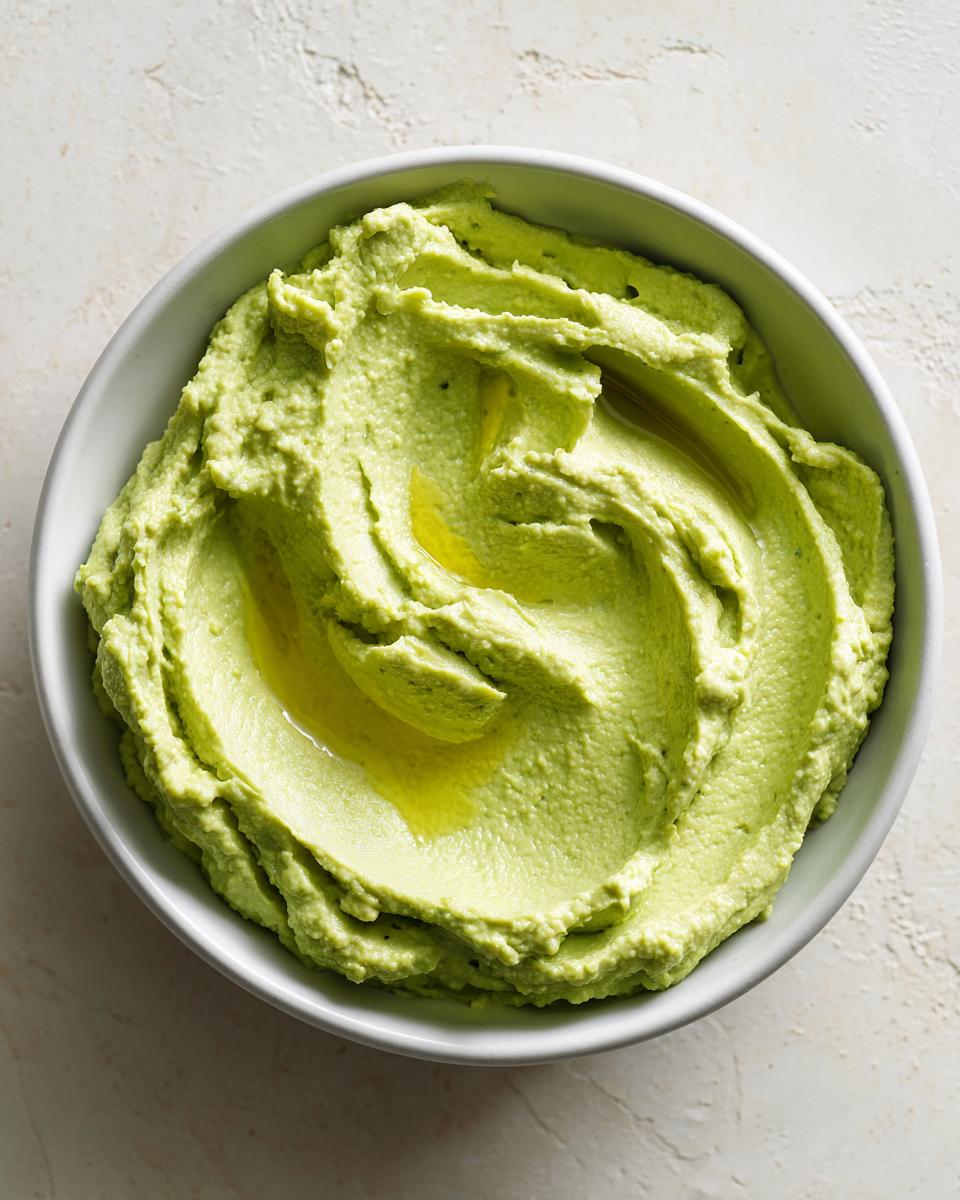
Now that you have this gorgeous, vibrant green dip, the real fun begins: figuring out what to scoop it up with! This **Edamame Hummus** is so versatile because it’s lighter than traditional hummus, making it perfect for almost anything.
Of course, slicing up some crisp, fresh veggies is always the healthiest route. Think crunchy bell peppers, snappy celery, and lots of carrot sticks. But don’t stop there! This dip is fantastic spread straight onto toasted bread or used in place of mayonnaise on a turkey or veggie sandwich. It gives everything this lovely, herby punch. If you’re looking for the perfect vehicle, homemade pita bread is simply unbeatable—you can find my super simple recipe for easy pita bread right here, and I promise they go perfectly together!
Storage and Reheating Instructions for Edamame Hummus
Because we didn’t use any preservatives here, just good, fresh ingredients, you need to treat this dip right so it stays fabulous! Make sure you get any leftovers into a truly airtight container right away. Pop it into the refrigerator.
It keeps beautifully for about four days, but honestly, I find that the flavors are at their absolute, vibrant peak within the first two days. If you chilled it, just let it sit on the counter for about 15 minutes before serving to let it soften up just a tad. It doesn’t really need reheating, but letting it warm slightly makes it dip-able again!
Variations on Classic Edamame Hummus
One of the best parts about making your own **Edamame Hummus** is that you can tweak it to match whatever mood you’re in! Since the base flavor is so clean and green, it takes on spices and mix-ins like a dream. Don’t feel like you have to stick strictly to my recipe—get creative!
If you want smokiness, add about half a teaspoon of smoked paprika right into the food processor when you blend everything up. Wow, does that deepen the flavor! For a little Mexican flair, I sometimes load in a quarter cup of fresh cilantro and maybe half a jar of roasted red peppers—that turns it into a bright, sweet-and-smoky stunner. You can even serve these variations alongside some crispy easy zucchini fritters for a real spread! Just remember, anything you add in addition to the liquids should be finely minced or already smooth, so the processor can handle it easily.
Frequently Asked Questions About Edamame Hummus
Is this Edamame Hummus actually healthier than traditional chickpea hummus?
That’s a great question! Yes, I generally find that this **Edamame Hummus** has a slight nutritional edge. Edamame is naturally higher in protein and fiber than chickpeas, meaning this dip is wonderfully satisfying and keeps you feeling full longer. Plus, since it’s lower in carbs than its classic chickpea counterpart, it’s a fantastic choice for anyone watching their glycemic load. It’s still loaded with healthy fat thanks to the tahini and olive oil, of course, and it’s completely vegan, making it a stellar vegan dip option!
I only have frozen edamame. Can I use that instead of cooking fresh?
Absolutely! Please don’t try to process frozen edamame right out of the bag—that’s how you burn out your food processor! If you only have frozen shelled edamame, you just need to cook them first. You can boil them for a few minutes until tender or even microwave them with a splash of water. The crucial part is that once they are cooked, you must let them cool completely before blending them in. Warm beans lead to a gummy texture, and we want creamy!
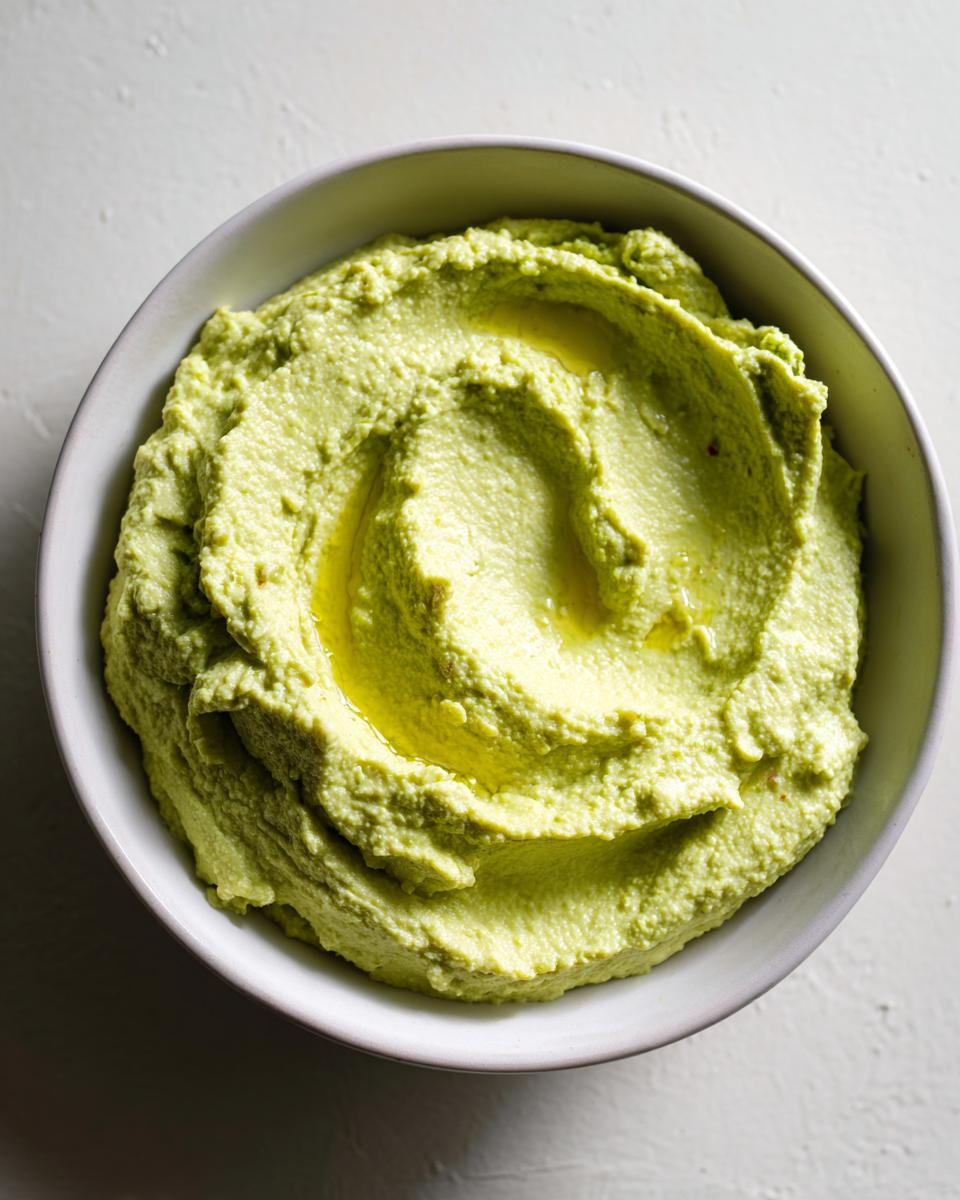
What should the texture of this hummus be like?
The texture is one of the things I love most about this recipe! Because edamame is softer than dried chickpeas, this hummus tends to be naturally silkier and smoother right out of the machine. It doesn’t need as much aggressive processing to get that velvety finish. It should be thick enough to hold its shape on a cracker but easily spreadable. If yours is too thick, just remember to drizzle in that water spoon by tiny spoon until you hit perfection!
Does this edamame dip freeze well?
While it certainly *can* be frozen, I usually advise against it because the texture changes a little bit upon thawing. When it warms up, it can sometimes separate or become slightly grainy. For best results, I stick to making a fresh batch that lasts about four days in the fridge. If you must freeze it, try to use only the hummus part, leaving off any garnish or olive oil drizzle until you’ve thawed and blended it again.
Print
Simple Edamame Hummus
- Total Time: 10 min
- Yield: About 1.5 cups 1x
- Diet: Vegan
Description
A quick recipe for hummus made with shelled edamame instead of chickpeas.
Ingredients
- 1 cup shelled edamame, cooked and cooled
- 1/4 cup tahini
- 2 tablespoons lemon juice, fresh
- 1 clove garlic
- 2 tablespoons olive oil
- 2 tablespoons water (or more, for desired consistency)
- 1/4 teaspoon salt
- Pinch of black pepper
Instructions
- Combine the cooked edamame, tahini, lemon juice, garlic, olive oil, salt, and pepper in a food processor.
- Process the mixture until it starts to become smooth.
- Add water, one tablespoon at a time, while processing until the hummus reaches your preferred smooth consistency.
- Taste and adjust salt or lemon juice if needed.
- Serve immediately or chill before serving.
Notes
- For a brighter flavor, add a small piece of fresh ginger during processing.
- If you do not have a food processor, a high-speed blender can work, but you may need slightly more liquid.
- Store leftover hummus in an airtight container in the refrigerator for up to four days.
- Prep Time: 5 min
- Cook Time: 5 min
- Category: Appetizer
- Method: Processing
- Cuisine: Fusion
Nutrition
- Serving Size: 2 tablespoons
- Calories: 75
- Sugar: 1
- Sodium: 120
- Fat: 5
- Saturated Fat: 0.7
- Unsaturated Fat: 4.3
- Trans Fat: 0
- Carbohydrates: 5
- Fiber: 2
- Protein: 3
- Cholesterol: 0
Keywords: edamame, hummus, dip, vegan, appetizer, healthy snack