
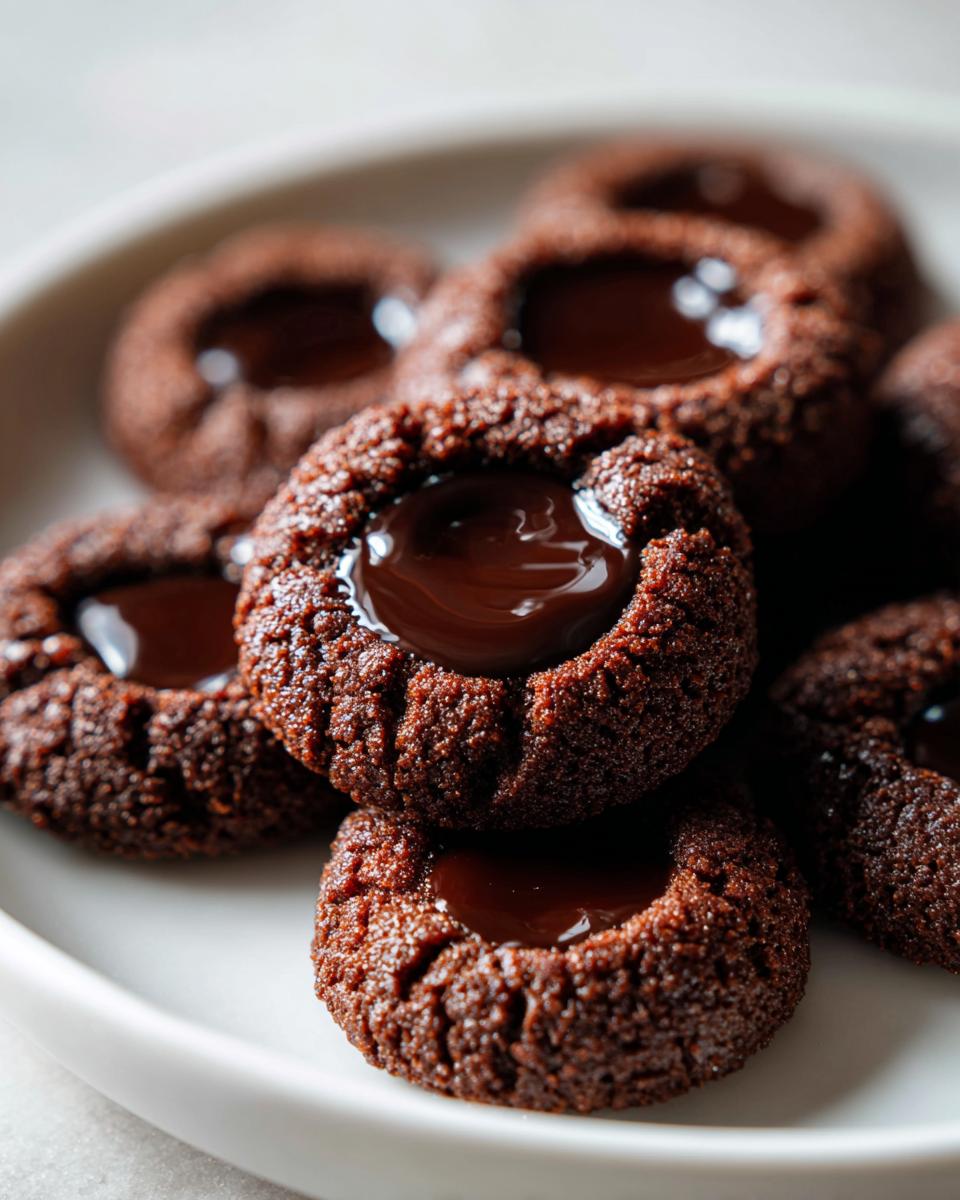
There’s just something about a classic cookie that brings me right back to my childhood kitchen, isn’t there? Forget fussy decorations; sometimes you just need pure, buttery chocolate goodness. I’ve tried a million holiday recipes, but I keep coming back to this one because it makes the absolute best Chocolate Thumbprint Cookies. Seriously, you won’t believe how simple they are!
These bad boys are my go-to for everything—from last-minute bake sales to cozy evenings watching rain fall. They come together faster than almost any other cookie dough I’ve ever made. The secret isn’t any fancy ingredient; it’s about getting that perfect shortbread base to cradle a gooey center. They are rich, they melt in your mouth, and honestly, I can eat about 15 in one sitting.
Why These Chocolate Thumbprint Cookies Are Your New Favorite Recipe
Okay, let me tell you why you need to drop everything and make these right now. These aren’t just cookies; they are pure happiness in a small bite! Trust me, once you try them, they are going straight into your permanent rotation. Because of all the amazing things packed into this simple recipe, I know you’ll love them:
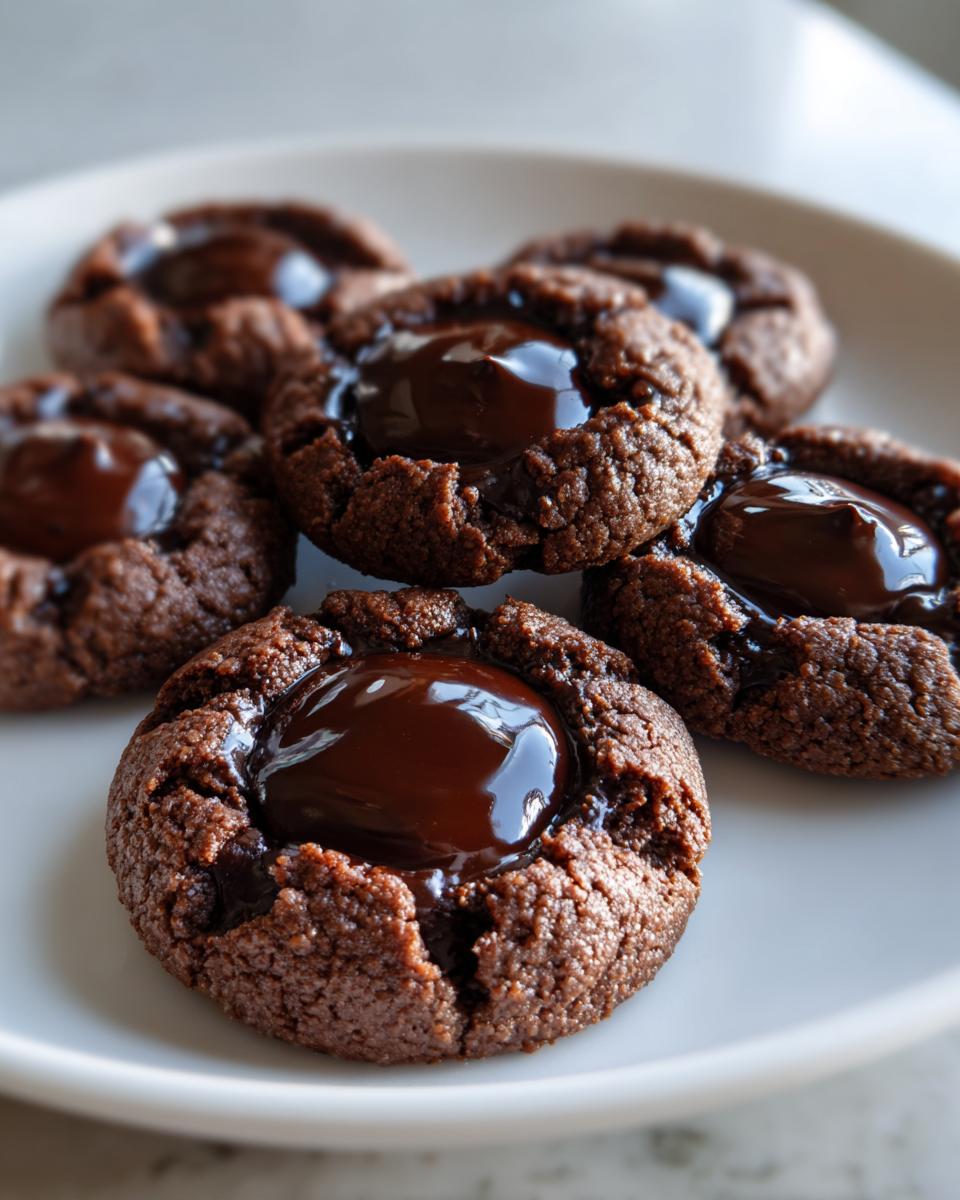
- They have this unbelievably rich, dark chocolate flavor thanks to the cocoa powder—it beats any store-bought mix, hands down.
- The texture is *everything*. They are crispy on the edges but that shortbread base melts in your mouth.
- You can whip up the dough in under 20 minutes, so they are perfect when you need a dessert fix fast!
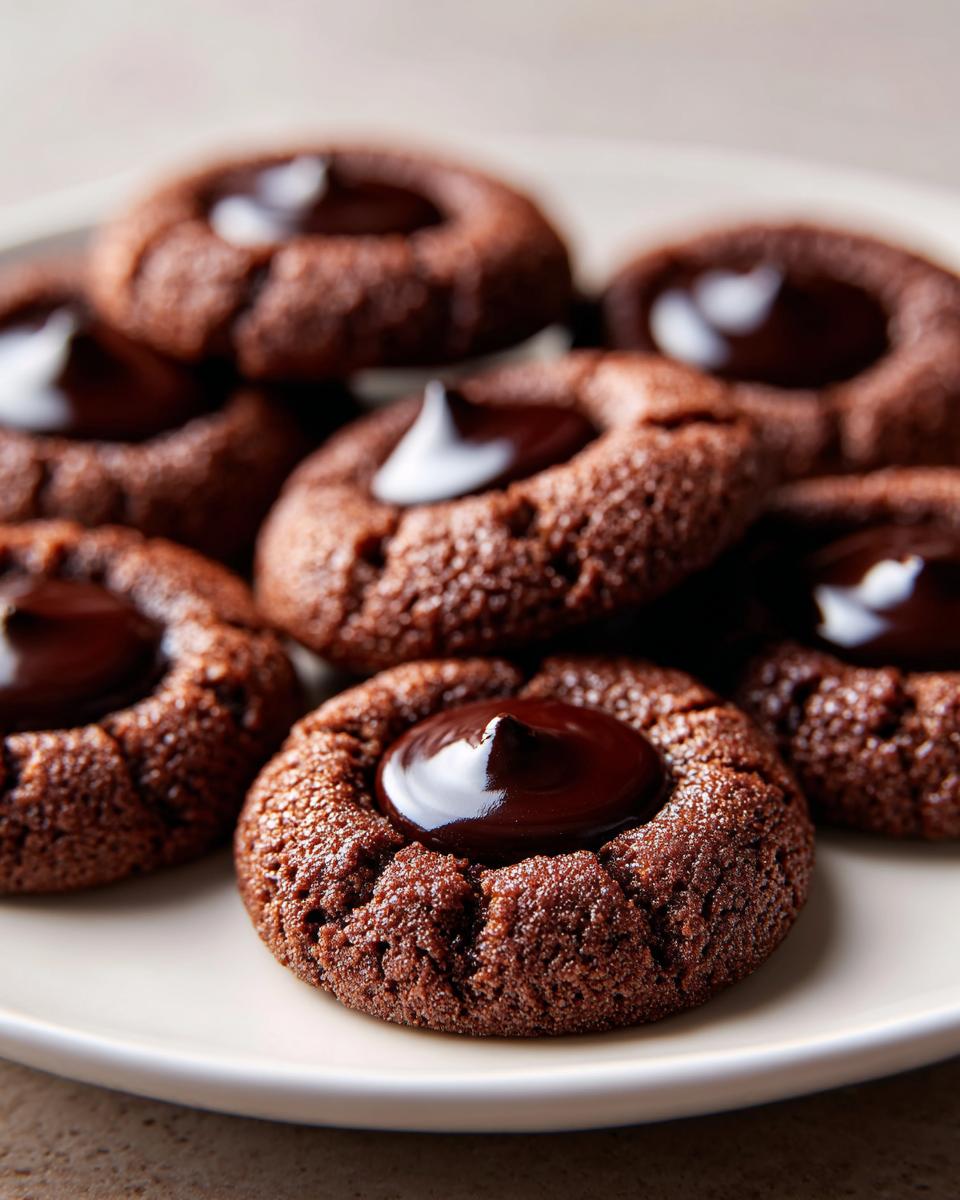
- The indentation holds so much filling, whether you go for thick ganache or bright jam.
- They look fancy sitting on a platter, even though they’re shockingly easy to pull off. I even found some great inspiration for hosting with cookies like these when I was planning party cookie ideas recently!

Essential Ingredients for Perfect Chocolate Thumbprint Cookies
When you’re making a cookie this classic, you can’t skimp on the base ingredients. This recipe shines because it relies on simple, good quality pantry staples. The texture comes directly from how these components interact, so pay attention to the details, especially the butter!
Here is exactly what you’ll need to gather for our 24 amazing chocolate shortbread cookies. If you’re looking for other chocolate inspiration later, check out my recipe for chocolate chip tahini cookies; they use a slightly different mix of fats!
- 1 cup unsalted butter, softened
- 1/2 cup granulated sugar
- 1/4 cup packed brown sugar
- 1 large egg yolk
- 1 teaspoon vanilla extract
- 2 cups all-purpose flour
- 1/2 teaspoon salt
- 1/2 cup cocoa powder
- 1/2 cup chocolate ganache or jam for filling
Ingredient Notes and Substitutions for Your Chocolate Thumbprint Cookies
Let’s talk turkey about these simple items. The cocoa powder is key here; I always try to grab a dark cocoa powder if I can find it because it really deepens that chocolate background flavor. If you only have regular unsweetened, it will still be delicious, just lighter in color.
Now, for the hole in the middle! You have options, and both are fantastic. If you go the chocolate ganache route, make it thick so it doesn’t run out in the oven. If you use jam, maybe raspberry or apricot? I highly recommend warming whatever jam you choose up slightly in the microwave before you start filling. It makes it so much easier to spoon into those little indentations without tearing up the dough. Remember, we want perfect little cups!
Step-by-Step Instructions for Making Chocolate Thumbprint Cookies
Okay, time to get messy! These instructions seem long, but honestly, the hands-on time is so quick. Don’t overthink it; just follow the order, and you’ll have the most perfect, gooey chocolate cookies you’ve ever seen. Before we even look at the bowl, make sure your oven is humming along at 350 degrees F (175 degrees C). I always line my baking sheets with parchment paper—it makes cleanup a breeze and ensures the bottoms don’t burn.
Mixing the Chocolate Thumbprint Cookies Dough
We start by building the base flavor. Grab your biggest bowl, because we need room to whip things up! Cream that softened butter, the white sugar, and the dark brown sugar together until you hit that beautiful, light and fluffy texture. It usually takes me a good three or four minutes with the hand mixer to get the air in there.
Next, drop in that single egg yolk and the vanilla. Mix those just until they vanish into the creamed mixture. Now, switch gears! Whisk your flour, salt, and cocoa powder together in a separate bowl. This is important: only add the dry stuff to the wet ingredients gradually. We are making shortbread here, not bread, so we want minimal gluten development. Mix until you just see the last streaks of flour disappear—stop right there! Overmixing leads to tough cookies, and nobody wants that.
Shaping and Baking Your Chocolate Thumbprint Cookies
Now for the fun part that gives these delicious things their name! Roll your dough into little 1-inch balls. Try to keep them uniform so they bake evenly, though nobody’s counting calories here! Place them spaced out on that parchment-lined sheet.
Here’s the personal tip you need: When you go to make the thumbprint, don’t press straight down hard. Lightly roll the dough ball under your thumb, then gently press down just enough so the edges look set but the center dips nicely—the base should still be thick. If you press too hard, the dough cracks when it bakes! Some people use the back end of a small measuring spoon, which is less messy if you have dry hands.
Bake them for 10 to 12 minutes. You’re looking for the edges to just look firm, but the very center underneath your thumbprint should still look soft and maybe a tiny bit pale. If they look completely baked through, you’ve gone too far! Let them sit right there on the hot pan for five minutes—this five minutes is crucial for setting up the bottom before you try to move them. Then, gently move them over to a wire rack to cool completely. Please, let them get totally cool before filling!
Filling the Chocolate Thumbprint Cookies
Patience pays off here again! If you try to fill warm cookies, the ganache or jam melts right out the sides, and you lose that nice contrast between the dark cookie base and the shiny center. Once they are totally room temperature, you can finally load them up.
Use a small measuring spoon or even a piping bag (if you’re fancy) to gently spoon your filling into the little hollow you made. Don’t overfill! A small, perfect pool is exactly what we want. Once they are filled, they are officially done. If you’re not serving them right away, you can check out some neat ideas for baking cookies and keeping them fresh for later.
Tips for Success with Chocolate Thumbprint Cookies
Even though these chocolate thumbprint cookies are super simple, there are a few little secrets I’ve picked up over the years that make them go from “good” to “famous-at-the-office” status. You really want that melt-in-your-mouth texture, right? That means avoiding cracks and ensuring the filling stays put!
If you usually struggle with cookies spreading too much or cracking when you press them down, pay extra close attention here. These tips will help you achieve bakery perfection! For some amazing flavor inspiration on other small treats, you might want to look at these ideas for other melt-in-your-mouth cookies.
- Keep the Dough Chilled (Briefly): Even though the recipe says to use softened butter, after you mix the dough, wrap the whole bowl and chill it for about 20 minutes before rolling. Cold dough spreads less in the oven, giving you better-shaped cookies and deeper pockets for your filling to sit in.
- The Moist Thumb Trick: If you are using your actual thumb to make the dent, dip it into a little bit of granulated sugar first. This coating acts like a barrier and reduces friction, allowing your thumb to glide right into the center of the dough ball without dragging and creating those awful surface cracks.
- Don’t Overbake—Seriously! This is my biggest tip for these chocolate cookies. If you bake them until the entire top looks fully dry and dull, the edges will be hard after cooling. Err on the side of under-baking—if the center still looks shiny and slightly wet when you pull them out, they are perfect. They firm up beautifully as they rest on the pan during that essential 5-minute cool-down period.
- Fill Only When Cool: I know I mentioned this before, but I have to say it again because I see people rushing it every time! If the cookie is even a little warm, the filling sinks right to the bottom, or worse, it leaks out the sides and makes a sticky mess when you try to store them. Let them reach room temperature, and then fill away!
Storage and Make-Ahead Options for Chocolate Thumbprint Cookies
One of the best things about these chocolate thumbprint cookies is that they travel well and they keep beautifully! Unlike something delicate like a macaron, these keep their structure, which is a huge bonus when you’re planning for a party next week.
Storing Your Wonderful Chocolate Cookie Creations
Once you’ve filled them—and only once they are completely cool—you’ll want to store them just like the recipe notes suggest. Keep them in a good airtight container at room temperature. I generally find they are best eaten within three to four days, but honestly, they rarely last that long in my house! Don’t try refrigerating them unless you are using a very jammy filling that might go strange sitting out, because the cold air tends to dry out that wonderful shortbread base.
Making the Dough Ahead of Time
If you are heading into a crazy week, you can absolutely make the dough up front. Mix the dough following steps one through four, roll them into balls, make your little thumbprint indentations—and then stop! Lay the unbaked, indented balls on a baking sheet lined with parchment paper and pop the whole tray into the freezer until they are solid. Once solid, you can transfer them into a heavy-duty freezer bag. This is my secret for having fresh cookies ready in 15 minutes!
When you’re ready to bake, pull the chilled balls straight from the freezer onto a clean parchment sheet. You’ll likely need to add an extra two to three minutes to your baking time since they are baking from frozen. They still bake up perfectly fine, trust me!
Freezing Baked Chocolate Thumbprint Cookies
This darker chocolate cookie also freezes really well even after they are baked *and* filled! This is great if you need options for holiday cookie platters. Just ensure the filling is firm and not melting or sticky before you freeze them. Layer them between pieces of wax paper in a container—this stops them from sticking together. They thaw beautifully on the counter in just an hour or two, ready to be served!
Variations on Classic Chocolate Thumbprint Cookies
I know this recipe is perfect as is, but sometimes a baker just needs to play around a little bit, right? If you’re making a huge batch for a holiday swap or just feeling creative, you can easily adjust these chocolate thumbprint cookies without losing that essential shortbread structure or that lovely dark cocoa flavor.
I’ve played around with these fillings and dough additions more times than I can count. In fact, when I was looking for ways to use up some unexpected ingredients last year, I found some fantastic other thumbprint cookie variations that gave me even more ideas!
Switching Up the Extract
Vanilla is classic, but why stop there when you have such a great dark chocolate base? Try swapping out the vanilla extract—or maybe even doing half and half—with a nice, pure almond extract. Almond and chocolate are just heavenly together, and it gives the cookie a sophisticated, almost marzipan-like background note. Be careful with almond, though; it’s strong! A tiny bit goes a long way, so don’t double the amount.
Another great option, especially if you don’t like jam fillings, is adding a half teaspoon of peppermint extract to the dough. Then, instead of jam, fill the cooled cookie with a drop of melted white chocolate. That chocolate-mint combination is just *so* festive, and it cuts through the richness of the cocoa dough beautifully.
Adding Texture to the Dough
If you want a real textural component besides the melt-in-your-mouth shortbread, nuts are your best friend. I love to finely chop about a half cup of walnuts or pecans and stir them in right at the end when combining the wet and dry ingredients. Make sure they are chopped quite small—we don’t want giant chunks poking out, or they will make it really hard to press that perfect thumbprint in!
If nuts aren’t your thing, you can substitute them with crispy rice cereal! Gently fold in maybe a quarter cup of the rice cereal right before you chill the dough. This will give the cookie an unexpected little crunch, which contrasts amazingly with the smooth chocolate filling you add later. It adds a totally fun surprise factor.
Alternative Fillings for a Different Look
While I swear by raspberry jam or dark chocolate ganache, think about presentation! For a beautiful contrast, ditch the dark filling and use lemon curd. Lemon and chocolate might sound strange, but the bright citrus cuts the deep cocoa flavor perfectly, and the yellow against the dark cookie is stunning. Just make sure that lemon curd is thick enough that it sets up nicely once the cookie cools.
If you want something super decadent, try using dulce de leche for the filling. You warm it up just like I suggested with the jam to make it pourable, fill those little cups, and then maybe dip the edges of the cookie into some finely chopped, toasted coconut before it sets. It becomes this incredibly rich, tropical-flavored, chewy chocolate treat.
Serving Suggestions for Your Chocolate Thumbprint Cookies
So, you’ve made the absolute best batch of chocolate thumbprint cookies, and now you’re wondering how to show them off? Don’t just dump them on a paper plate—these beauties deserve a presentation worthy of their incredible flavor!
Keep it simple, keep it elegant. Since these cookies are rich and slightly fudgy from that center filling, they pair perfectly with something simple to balance the texture and sweetness. They aren’t the kind of cookie that needs a lot of fuss around them, which I love!
- The Classic Combo: Nothing beats the simple pairing of these dark chocolate cookies with a tall, cold glass of milk. It’s nostalgic, and the milk just washes down that rich cocoa crumb perfectly.
- For the Grown-Ups: If you’re enjoying these after dinner, I highly recommend serving them alongside a strong cup of black coffee or a rich espresso. The bitterness of the coffee really makes the sweetness of the filling pop!
- Platter Central: If you’re taking these to a gathering, skip serving them alone. Nestle them between some bright, tart fruit like fresh raspberries or maybe some slightly salty almonds on a simple tiered tray. The dark color of the cookie looks amazing against light colors!
Frequently Asked Questions About Chocolate Thumbprint Cookies
I know baking can sometimes feel tricky, especially when you’re dealing with shortbread-like doughs. You want that perfect shape, right? I’ve gathered the questions I always get asked about these chocolate thumbprint cookies. Hopefully, this clears up any last-minute panics before you dive into the oven!
Why are my chocolate cookies spreading too much in the oven?
This is almost always one of two things, and it drives me nuts when it happens to my beautiful dough balls! First, check your butter temperature. If the butter was too soft or even slightly melted when you creamed it, you’ve incorporated too much air and the structure is weak. Second, make sure you chilled the dough for at least 20 minutes after you mixed everything, even though you don’t have to chill it for long. Cold dough resists spreading, giving you that lovely, thick base and satisfyingly deep thumbprint that holds the filling!
How do I get a nice, deep indentation without cracking the cookie dough?
The key to a deep dip—and avoiding those ugly cracks that ruin the presentation—is twofold. As I mentioned before, making sure the dough isn’t too warm helps immensely. But the technique matters more! Don’t just jab your thumb straight down. Instead, slightly grease your thumb (or the back of a small spoon) with a tiny bit of butter or roll it in sugar first. Then, gently press down and wiggle slightly as you lift away. You want the impression to be deep enough to hold that filling, but you should leave about a quarter-inch of cookie wall around the edge so it doesn’t collapse during baking.
Do these chocolate thumbprint cookies stay fresh for a long time?
They are best when they are fresh within the first two days! Because of that wonderful shortbread base and gooey center, they don’t last quite as long as a crisp cookie, but they are definitely good for a few days. For optimal storage, keep them in an airtight container at room temperature—no need to refrigerate them unless you used a filling that requires cold storage. If you freeze them un-filled, they can last for months, which is a lifesaver!
Can I use sugar cookies instead of cocoa powder for a non-chocolate base?
Absolutely, you can adapt this into a fantastic standard thumbprint cookie! If you leave out the half-cup of cocoa powder, you’ll need to compensate for the dry ingredients. I suggest adding an extra 1/4 cup of all-purpose flour and maybe just a tablespoon less of butter to maintain the correct ratio. Then you have a plain shortbread base that you can fill with anything! That would be a great way to use brighter jams for a beautiful color contrast.
Estimated Nutritional Snapshot for Chocolate Thumbprint Cookies
Now, I’m no nutritionist—I just focus on making sure every bite tastes like sheer joy! But I know some of you like to keep track of what you’re enjoying. So, here is a general snapshot of what you can expect from these chocolate thumbprint cookies based on making 24 cookies, according to my recipe card.
Remember, this is just an estimate, and your final count will depend on exactly how much filling you use and the exact brands of flour and cocoa powder you choose. But this gives you a great ballpark figure for one perfect, delicious cookie!
- Serving Size: 1 cookie
- Calories: 150
- Fat: 9g (This is that buttery goodness talking!)
- Carbohydrates: 16g
- Protein: 2g
- Sugar: 12g (Worth every single gram, trust me!)
- Sodium: 60mg
I always feel much better eating a homemade cookie when I know where the ingredients came from, and these dark, rich chocolate cookies are certainly made with love and good butter, which is the most important thing!
Print
Chocolate Thumbprint Cookies
- Total Time: 32 min
- Yield: 24 cookies 1x
- Diet: Vegetarian
Description
Simple recipe for classic chocolate thumbprint cookies with a sweet filling.
Ingredients
- 1 cup unsalted butter, softened
- 1/2 cup granulated sugar
- 1/4 cup packed brown sugar
- 1 large egg yolk
- 1 teaspoon vanilla extract
- 2 cups all-purpose flour
- 1/2 teaspoon salt
- 1/2 cup cocoa powder
- 1/2 cup chocolate ganache or jam for filling
Instructions
- Preheat your oven to 350 degrees F (175 degrees C). Line baking sheets with parchment paper.
- In a large bowl, cream together the softened butter, granulated sugar, and brown sugar until light and fluffy.
- Beat in the egg yolk and vanilla extract.
- In a separate bowl, whisk together the flour, salt, and cocoa powder. Gradually add the dry ingredients to the wet ingredients, mixing until just combined.
- Roll the dough into 1-inch balls. Place the balls on the prepared baking sheets.
- Use your thumb or the back of a small spoon to make an indentation in the center of each dough ball.
- Bake for 10 to 12 minutes. The edges should be set but the centers should still look soft.
- Let the cookies cool on the baking sheets for 5 minutes before transferring them to a wire rack to cool completely.
- Once cool, fill the indentations with chocolate ganache or jam.
Notes
- For a richer chocolate flavor, use dark cocoa powder.
- If using jam, warm it slightly before filling the cookies for easier spreading.
- Store cookies in an airtight container at room temperature.
- Prep Time: 20 min
- Cook Time: 12 min
- Category: Dessert
- Method: Baking
- Cuisine: American
Nutrition
- Serving Size: 1 cookie
- Calories: 150
- Sugar: 12
- Sodium: 60
- Fat: 9
- Saturated Fat: 5
- Unsaturated Fat: 4
- Trans Fat: 0
- Carbohydrates: 16
- Fiber: 1
- Protein: 2
- Cholesterol: 30
Keywords: chocolate cookies, thumbprint cookies, cocoa, shortbread, holiday cookies, dessert