
Oh, you know those days where you just desperately crave something sweet, nostalgic, and utterly fuss-free? I used to spend far too much money grabbing one (or three!) of those adorable little spheres from the coffee shop counter. Seriously, they’re addictive! But I want to let you in on a little secret: making your own at home is shockingly simple, and you get way more control over how delicious they end up. This recipe is the result of years of tinkering with hacks to get that perfect dense, fudgy interior that mimics those famous **Starbucks Cake Pops** exactly. Trust me, once you see how easy this is, you won’t be going back to the drive-thru!
Why You Will Love These Starbucks Cake Pops
Honestly, the main reason I keep coming back to this method is that it skips all the messy, time-consuming parts of baking a cake from scratch just to crumble it up later! It’s pure dessert magic with almost no effort involved. Forget those delicate, fussy desserts; these are sturdy, fun, and packed with flavor.
- They taste exactly like the ones you crave, but you made them in your own kitchen! We nail that dense, fudgy texture that holds up perfectly on the stick.
- It’s practically foolproof thanks to using a boxed cake mix and pre-made frosting. It cuts the prep time down to almost nothing. I mean, who doesn’t love a good cake mix hack?
- The final texture is firm enough to handle transport but melts beautifully in your mouth. No more dry, crumbly messes!
Quick Assembly for Perfect Starbucks Cake Pops
This is where we save serious time. After the cake is baked and cooled—which is just passive time, remember—the active *work* is super fast. You’re essentially combining two ingredients, rolling balls, and chilling. The longest part is just letting things set up in the fridge so they don’t fall apart when you dip them. Honestly, you can have these ready for the chocolate coating in under an hour total!
Gathering Ingredients for Your Starbucks Cake Pops
Okay, ingredient gathering is crucial here because we are relying on package shortcuts, which means quality counts! You don’t need much, which is another reason this recipe is my go-to when I need a quick dose of happy nostalgia. Trust me on the frosting—don’t skimp here, or your balls won’t hold their shape! If you’re feeling ambitious, you could always make your own cake using my favorite yellow cake recipe, but for speed, the box wins.
Here is the short list of what you need to grab before starting:
- One standard box of your favorite cake mix. Vanilla or chocolate work best for that classic taste!
- One 16-ounce can of pre-made frosting. This needs to be firm frosting, not the fluffy whipped kind.
- About two cups of melting chocolate or candy wafers. I prefer wafers because they set up harder, which protects the pop.
- A tiny bit—just one tablespoon—of plain vegetable shortening. This is our secret weapon for smooth dipping!
- And, of course, the lollipop sticks!
Essential Equipment for Making Starbucks Cake Pops
You don’t need a full bakery setup for these, thankfully! But having the right tools makes the whole dipping process so much cleaner and less stressful. I learned the hard way that trying to use a regular dinner plate for drying cake pops is a guaranteed disaster. You need something specifically designed to keep them upright while that chocolate sets.
Make sure you have these essentials ready to go before you start crumbling:
- A large, sturdy mixing bowl. You’ll be doing some serious squishing!
- Parchment paper. You absolutely need this to line your chilling trays, otherwise, those cute little balls will glue themselves to the pan.
- Lollipop sticks, of course. Get the standard white paper ones; they work perfectly.
- A microwave-safe bowl for melting your chocolate. Don’t try to do this on the stovetop unless you want to babysit a double boiler!
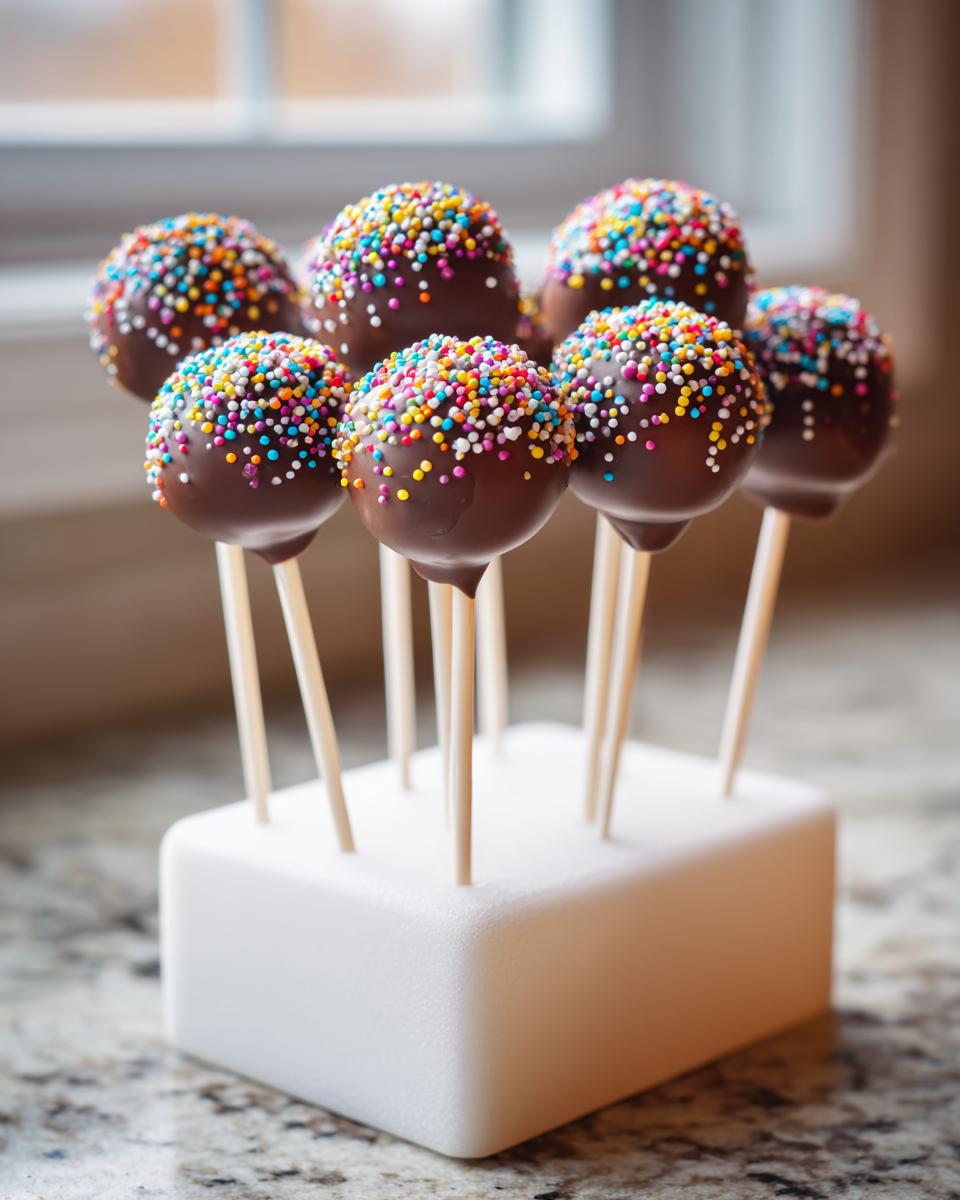
- The vital upright drying station! I use a simple block of foam—the kind you can get at any craft store works—to stick the pops into while they dry vertically. Otherwise, they end up with a big chocolate puddle on the bottom.
Step-by-Step Instructions for Perfect Starbucks Cake Pops
Alright, pull up a chair—this is the fun part! We are taking simple store-bought shortcuts and turning them into bakery-worthy treats. Read these steps through once before you start, especially the chilling times, because patience here prevents disaster later. My biggest piece of advice, learned the hard way, is that the base needs to be *cold* before it ever sees melted chocolate. If those little balls are room temperature, they practically dissolve when you dip them, leading to sad, stick-less blobs. Chilling is what gives these **Starbucks Cake Pops** their structural integrity! You can find the full guide on cake pop assembly right here if you need a visual break!
Baking and Crumb Preparation for Starbucks Cake Pops
First things first, you gotta bake that box mix according to the package directions. It doesn’t matter if you use a 9×13 pan or round layers; just get it baked. The crucial part comes after: you must let that cake cool completely. I mean, totally cool. If it’s even slightly warm, the frosting melts right into soup when you mix it. Once cool, crumble the entire cake into the largest bowl you have. You want fine, fine crumbs—almost sandy. This is how we get that smooth texture later on!
Mixing the Dough and Chilling the Starbucks Cake Pops
Now for the binding agent! Open that can of frosting—yes, the whole thing—and start mixing it into your cake crumbs. Use a sturdy spatula or your hands; you’ll need some muscle until it fully comes together into a thick, moldable dough. If your mixture seems too soft, remember the note: pop the whole bowl (covered, please!) into the fridge for an extra 15 minutes. Once it’s workable, start rolling those balls. Try to keep them uniform, about 1 inch across. Consistency is key if you want all your final **Starbucks Cake Pops** to look professional on their sticks! Line a sheet with parchment and chill them for at least 30 minutes.
Mastering the Chocolate Coating for Dipping Starbucks Cake Pops
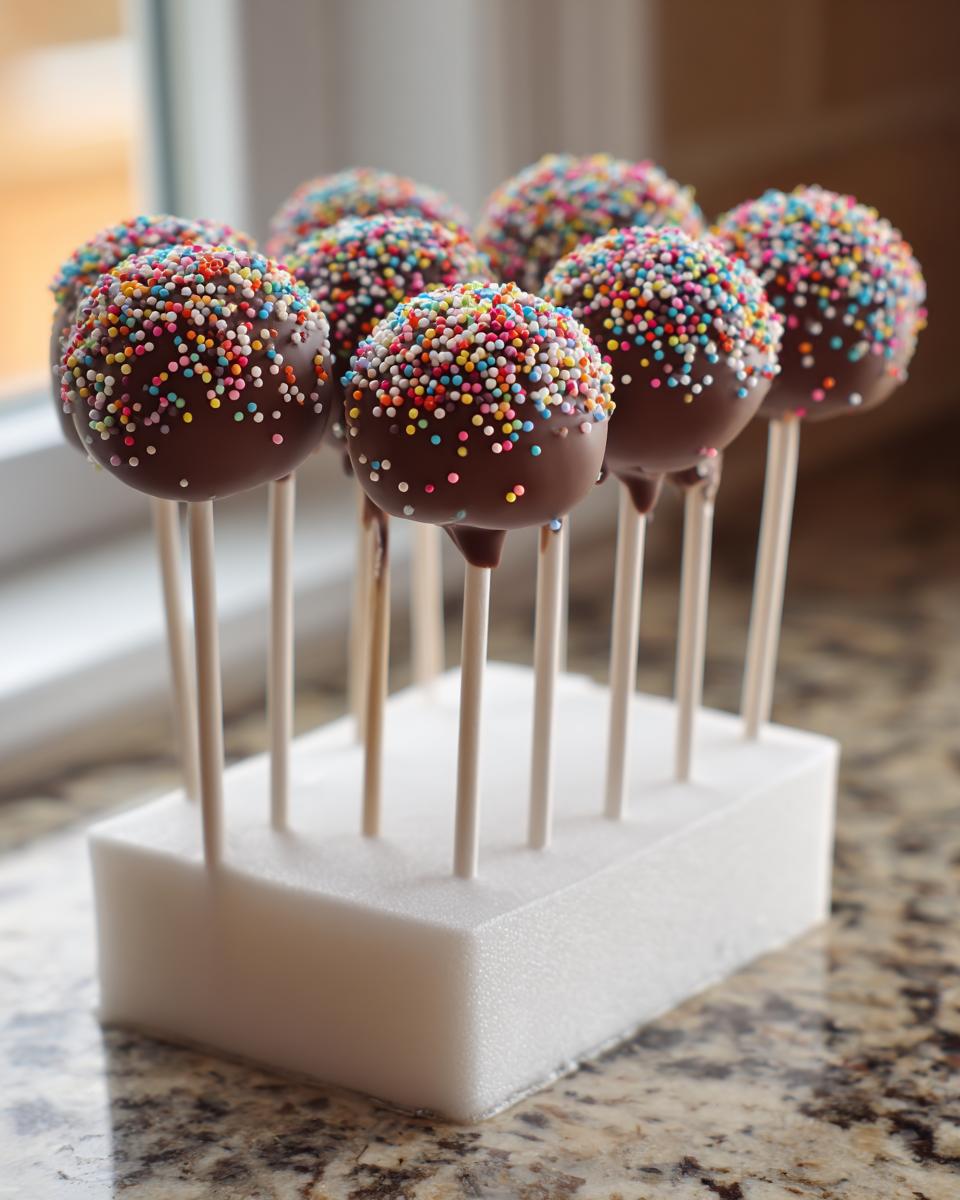
While the pops chill, melt your chocolate wafers with that little bit of vegetable shortening. Use short bursts in the microwave—say, 30 seconds—and stir well between each interval. That shortening does magic; it thins the chocolate just enough so it coats thinly instead of glopping on like thick mud. Once smooth, dip the tip of a lollipop stick into the coating and slide it into a chilled ball, then firm it up in the fridge for another 10 minutes. That sets the stick anchor! Finally, dip the whole thing, tap off the excess carefully, and stick it upright in your foam block to dry. If you’re using sprinkles, dust them on immediately! These coated **Starbucks Cake Pops** look just like the real deal when they set up shiny.

Expert Tips for Next-Level Cake Pops
Once you master the basic method, you might start noticing little imperfections that the coffee shop pros seem to magically avoid. I’ve definitely been there, wondering why my chocolate coating cracked as it dried! Don’t give up; these little issues are usually caused by temperature differences, not bad ingredients.
When that coating cracks, it almost always means your cake ball was too cold, or your chocolate coating got too hot and seized up when they touched. Here’s my best trick for thin, perfect shells. If your melted chocolate seems thick, even with the shortening added, thin it down just a tiny bit more with a teaspoon of coconut oil. Seriously, coconut oil makes the coating beautifully fluid and shiny, and it sets up rock solid without any weird taste.
Another thing—be gentle when inserting the stick! If you smash the cake ball when putting the stick in, you create a weak point that the thin shell will eventually crack around. I always use a slow, gentle wiggle motion rather than just pushing straight through. This keeps the structure strong for dipping.
And if you really want to level up, use colored candy melts instead of standard chocolate chips for dipping. They stay liquid longer, giving you more time to work, and they often set glossier than standard coating chocolate. If you’ve ever wondered how to make your cake the star, check out this amazing guide for hacking boxed cake mixes for added flavor depth underneath!
Variations on Your Homemade Cake Pops
Once you’ve mastered the basic formula—cake plus frosting equals magic dough—you can really start playing around! The beauty of using a boxed mix is that you can switch flavors without changing any of the structural steps. It’s basically an open invitation to get creative with your favorite tastes.
I love experimenting when I make a big batch, especially for holidays, just to see what people notice first. You can keep the frosting the same, or you can switch that up too! It’s really up to your mood.
Switching Up the Cake Base
Don’t feel locked into plain vanilla or chocolate! Try using a Funfetti mix for a rainbow effect inside, or maybe a red velvet mix for a richer color palette. If you use a spice cake mix, you get that warm flavor even without adding any extra flavoring to the coating. It’s amazing how much the initial cake carries the whole experience.
If you’re looking for something a bit zestier, you could even try a lemon cake mix. That bright citrus flavor shines through wonderfully beneath a white chocolate coating. If you want to dive deeper into citrus baking, I have a gorgeous key lime cake recipe that gives great inspiration for bright, fruity flavors!
Flavoring Your Chocolate Coating
The coating is your canvas for added flavor, too. You don’t always need sprinkles for decoration; sometimes, you want flavor changes! When you are melting your chocolate wafers and shortening—remember that little tablespoon of shortening?—you can easily mix in a teaspoon of extract.
For example, adding a teaspoon of peppermint extract to white chocolate wafers before dipping makes a perfect holiday pop. If you use a dark chocolate coating, a tiny dash of espresso powder mixed in before melting gives it a rich mocha depth that everyone goes wild for. Just be careful with extracts, though; a little goes a long way, and too much liquid can make your coating seize up on you!
Storage and Serving Suggestions
These cake pops are so sturdy, which means storage is super easy! Honestly, unlike a slice of actual cake, these little wonders hold up really well, making them perfect for making ahead of time for parties. You definitely want to plan ahead because they need time to chill properly, which is non-negotiable for that perfect dip!
For the best texture and flavor, I usually like to store my finished pops in an airtight container at cool room temperature. If your kitchen is super hot or humid, though, you might want to stick them in the fridge. Just make sure you take them out about 30 minutes before serving. Cold cake pops are firm, but room temperature ones taste richer and melt so much better in your mouth!
How Long Do Cake Pops Last?
Because we use a shelf-stable frosting mixed in with the cake, these bad boys last quite a while! If they are sealed well and kept cool, you can expect them to taste fantastic for about a week. When you stack them in your airtight container, try putting a layer of parchment paper between any layers of pops so they don’t stick together—especially if you used a runny coating.
If you really need to make them further in advance, they freeze beautifully! Wrap each individual pop tightly in plastic wrap first, then place the whole bundle in a freezer bag. They’ll be good for up to a month. When you want to eat them, just thaw them slowly in the fridge first, then let them come up to room temperature before enjoying.
Presentation Ideas for Your Homemade Pops
Presentation is half the fun! No one wants a sad, leaning cake pop. Using a foam block, like I mentioned earlier, is the easiest way to dry them, but it’s also great for serving. You just stick them upright, and it looks immediately festive.
For a larger gathering, though, try filling a small flower pot (make sure it’s clean!) with decorative dry beans, coffee beans, or even just some nicely colored sand, and stick the pops into that base. It makes an amazing centerpiece! Or, if you’re giving them away as favors, you can slide individual pops carefully into small cello bags and tie them off with a cute ribbon. It looks professional, but we know they were made with 90% store-bought shortcuts, which is our little secret!

Frequently Asked Questions About Cake Pops
It’s funny, even with the simplest recipes, people always have questions bubbling up when they get into the kitchen! I’ve gathered some of the most common things folks ask me when they are trying to get that perfect bakery finish on their treats. Don’t worry if you run into hiccups; we’ve all been there!
Why are my chocolate coatings cracking when they dry?
Ah, the dreaded crack! This is almost always a temperature shock issue. If your chilled cake ball hits hot melted chocolate, the rapid cooling causes tension and the coating snaps. For a smoother finish that doesn’t crack, try letting your cake balls warm up on the counter for about 10–15 minutes before dipping. They should still be cool and firm, just not freezer-cold. Also, making sure you added that tiny bit of shortening or coconut oil is key, as it helps the chocolate stay flexible rather than rigid.
My cake balls keep falling off the stick! What am I doing wrong?
This happened to me until I started double-dipping the stick tip! The cake mixture is soft, and if you just plunge the stick in, it just grabs hold of soft cake. You need an anchor set in place before you do the big dip. When you dip just the tip of the stick in the melted coating and insert it into the chilled ball, you need to let that small dab of chocolate set up and grab onto the cake firmly. A quick 10-minute chill right after inserting the stick makes all the difference for security!
How do I get the coating perfectly smooth like the coffee shop ones?
For that super shiny, super smooth coating, the consistency of your melted chocolate is everything! If it looks thick and sticky in the bowl, it will look lumpy on the pop. Remember that tablespoon of vegetable shortening we added? If it still seems too heavy, you can thin it slightly with a small teaspoon of coconut oil—just be careful not to add too much liquid, or it could cause issues setting later. Also, make sure you are using high-quality melting wafers, not just standard chocolate chips, if you want that beautiful, hard shell finish. Want to use similar flavor profiles? You might enjoy these tips for a lemon loaf copycat recipe for other treats!
Can I make these ahead of time, or do they need to be fresh?
The wonderful thing about these treats is they are perfect for making ahead. Because they are fully coated and require chilling, they are actually better once they’ve had a chance to rest. I usually make mine two or three days before an event. Keep them in an airtight container in a cool spot. If you need them to last longer than a week, they freeze beautifully, too! Just make sure they are well-wrapped so they don’t pick up any freezer smells.
Nutritional Estimate for Homemade Cake Pops
Now, I know what some of you are thinking: “These sound amazing, but what about the damage?” Look, let’s be real—these are decadent, fun treats, not a health food! We are using a box mix and frosting, so we aren’t tracking every macro here, but I always like to give a general idea of what a single pop is packing so you can plan accordingly.
This information is based strictly on the standard ingredients I listed, which means the exact brand of cake mix and frosting you choose will change things *a lot*. If you use a lighter frosting or a dark chocolate coating, your numbers will shift. Consider this your baseline starting point!
Estimated Nutritional Breakdown Per Pop (1 Pop Serving Size)
For the entire batch yielding about 24 pops, here’s what the general estimate looks like. I always recommend printing the info for your reference, but don’t stress too much about perfection here—enjoy the celebration!
- Calories: Around 180 calories per pop.
- Fat: Roughly 10 grams total.
- Carbohydrates: Expect about 22 grams.
- Protein: A small boost, usually around 2 grams.
Again, these are just ballpark figures! If you decide to skip the chocolate coating and just roll the balls in powdered sugar, your fat and calories will drop significantly. But honestly, where’s the fun in that? Bake happy, friends!
Print
Simple Cake Pops Recipe
- Total Time: 90 min
- Yield: 24 pops 1x
- Diet: Vegetarian
Description
A straightforward recipe for making cake pops similar to those found at Starbucks.
Ingredients
- 1 box cake mix (any flavor)
- 1 can frosting (16 oz)
- 2 cups melting chocolate or candy wafers
- 1 tablespoon vegetable shortening
- Lollipop sticks
Instructions
- Bake the cake mix according to package directions. Let the cake cool completely.
- Crumble the cooled cake into fine crumbs in a large bowl.
- Add the entire can of frosting to the cake crumbs. Mix well until a dough forms.
- Roll the dough into small, uniform balls, about 1 inch in diameter.
- Place the balls on a parchment-lined baking sheet and chill in the refrigerator for at least 30 minutes.
- Melt the chocolate or candy wafers with the shortening in a microwave-safe bowl, stirring every 30 seconds until smooth.
- Dip the tip of a lollipop stick into the melted coating and insert it about halfway into a chilled cake ball. Chill again for 10 minutes to set the stick.
- Dip the entire cake ball into the melted coating, rotating to cover completely. Tap the stick gently against the side of the bowl to remove excess coating.
- Place the coated cake pop upright in a foam block or stand to dry completely.
Notes
- Use firm cake for easier rolling. If the mixture is too soft, chill it longer.
- Thin the coating slightly with a teaspoon of coconut oil if it seems too thick for dipping.
- Decorate with sprinkles immediately after dipping before the coating sets.
- Prep Time: 30 min
- Cook Time: 30 min
- Category: Dessert
- Method: No-Bake Assembly
- Cuisine: American
Nutrition
- Serving Size: 1 pop
- Calories: 180
- Sugar: 20
- Sodium: 100
- Fat: 10
- Saturated Fat: 5
- Unsaturated Fat: 5
- Trans Fat: 0
- Carbohydrates: 22
- Fiber: 1
- Protein: 2
- Cholesterol: 15
Keywords: cake pops, chocolate coating, dessert, lollipop, Starbucks copycat