
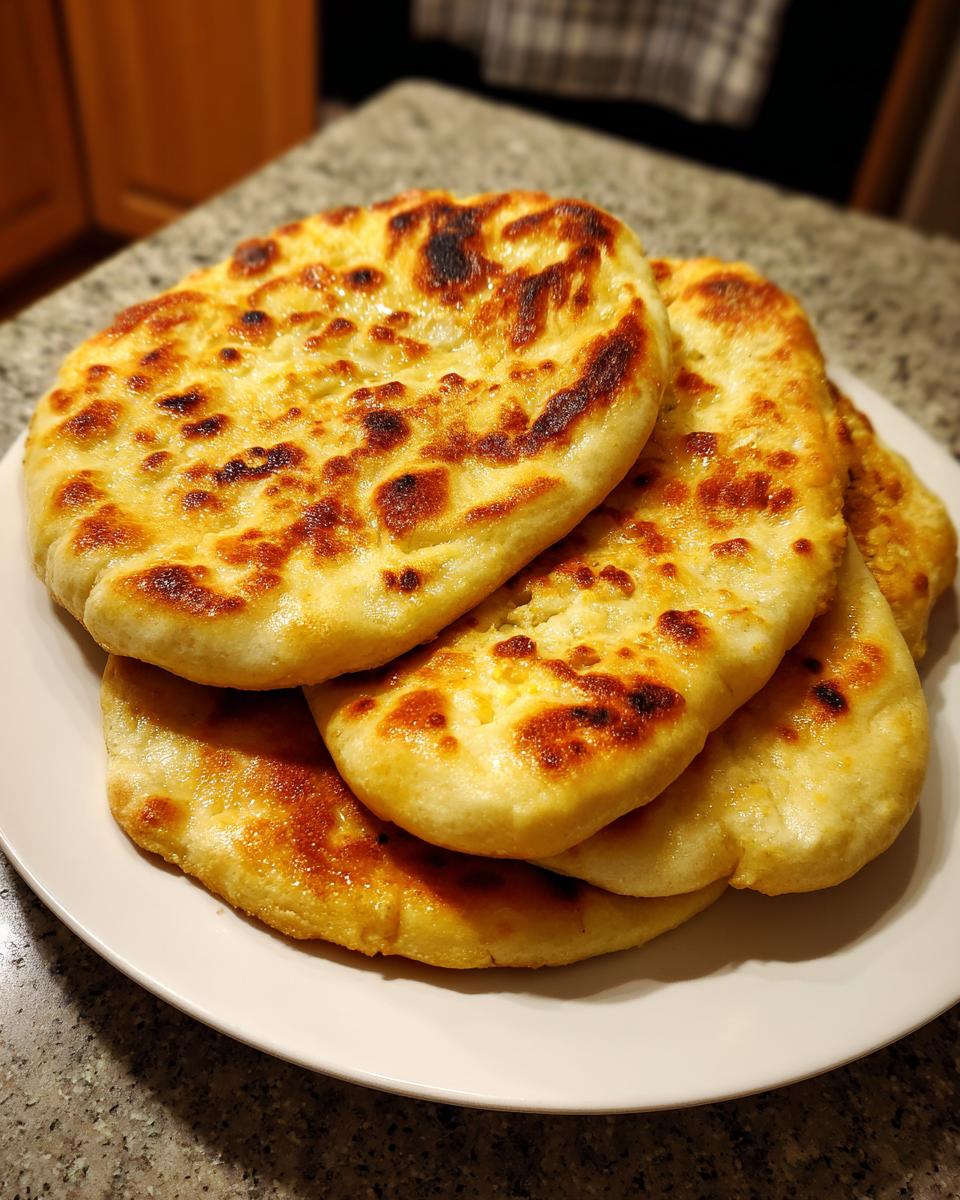
Oh, you know that smell? The one that fills your whole house with pure comfort? That’s the magic of freshly baked bread, and let me tell you, making your own easy pita bread is shockingly simple and SO rewarding! Forget those store-bought ones that sometimes feel a bit… sad. These homemade beauties are unbelievably soft, perfectly fluffy, and they puff up like little clouds in the pan. I remember the first time I pulled a perfectly puffed pita off the grill – it felt like a culinary triumph! They’re just the best for scooping up hummus, stuffing with falafel, or just tearing off a piece to dip in some good olive oil. Seriously, you NEED this easy pita bread recipe in your life!

Why You’ll Love This Easy Pita Bread Recipe
Honestly, this recipe is a winner for so many reasons. You’re going to adore how:
- It’s incredibly speedy to whip up – perfect for when that craving hits!
- The steps are super straightforward, even if you’re new to baking bread.
- They’re ridiculously versatile – use them for sandwiches, dips, or anything your heart desires.
- The end result is just SO much better than anything store-bought. Soft, fluffy perfection!
Gather Your Ingredients for Easy Pita Bread
Alright, let’s get this beautiful pita bread party started! You don’t need a long list of fancy things, just the good stuff you probably already have. You’ll need:
- 1 teaspoon of active dry yeast – make sure it’s good and fresh!
- A little pinch of sugar, just 1 teaspoon, to wake up that yeast.
- 1 cup of warm water, nothing too hot or too cold, around 105-115°F is perfect.
- 2 ½ cups of all-purpose flour – I like to sift mine, but it’s not a deal-breaker if you don’t.
- 1 teaspoon of salt for flavor.
- And 1 tablespoon of good ol’ olive oil, adds a lovely richness.
Step-by-Step Guide to Making Easy Pita Bread
Alright, let’s get this bread party rolling! It’s really not complicated, and honestly, watching them puff up like little balloons is half the fun. Just follow along, and you’ll be a pita pro in no time.
Activating the Yeast for Your Easy Pita Bread
First things first, we need to get that yeast happy. In a little bowl, gently sprinkle your yeast and sugar over the warm water. Give it a tiny stir and then just let it chill for about 5 to 10 minutes. You’ll know it’s ready when it gets all foamy and bubbly on top – that means it’s alive and ready to work its magic for our pita bread! If you want to see some great yeast in action, check out this demonstration.
Kneading and Rising the Easy Pita Dough
Now, let’s combine everything! In your big mixing bowl, toss in the flour and salt. Make a little well in the center, pour in that bubbly yeast mixture and the olive oil. Stir it all up until it just looks like a shaggy dough. Turn that onto a lightly floured surface – I like to use my counter – and get ready to knead! You want to push, fold, and turn the dough for about 5 to 7 minutes. Keep at it until it feels smooth and stretchy, like a nice piece of playdough. Then, pop it into a lightly oiled bowl, cover it up with a damp cloth or some plastic wrap, and find a warm spot. Let it hang out for about an hour to an hour and a half. It should get nice and puffy, almost double in size. If your kitchen is on the cooler side, sneak it into your oven that’s just turned off – it’s like a cozy little baking spa for the dough!
Shaping and Cooking Your Homemade Pita
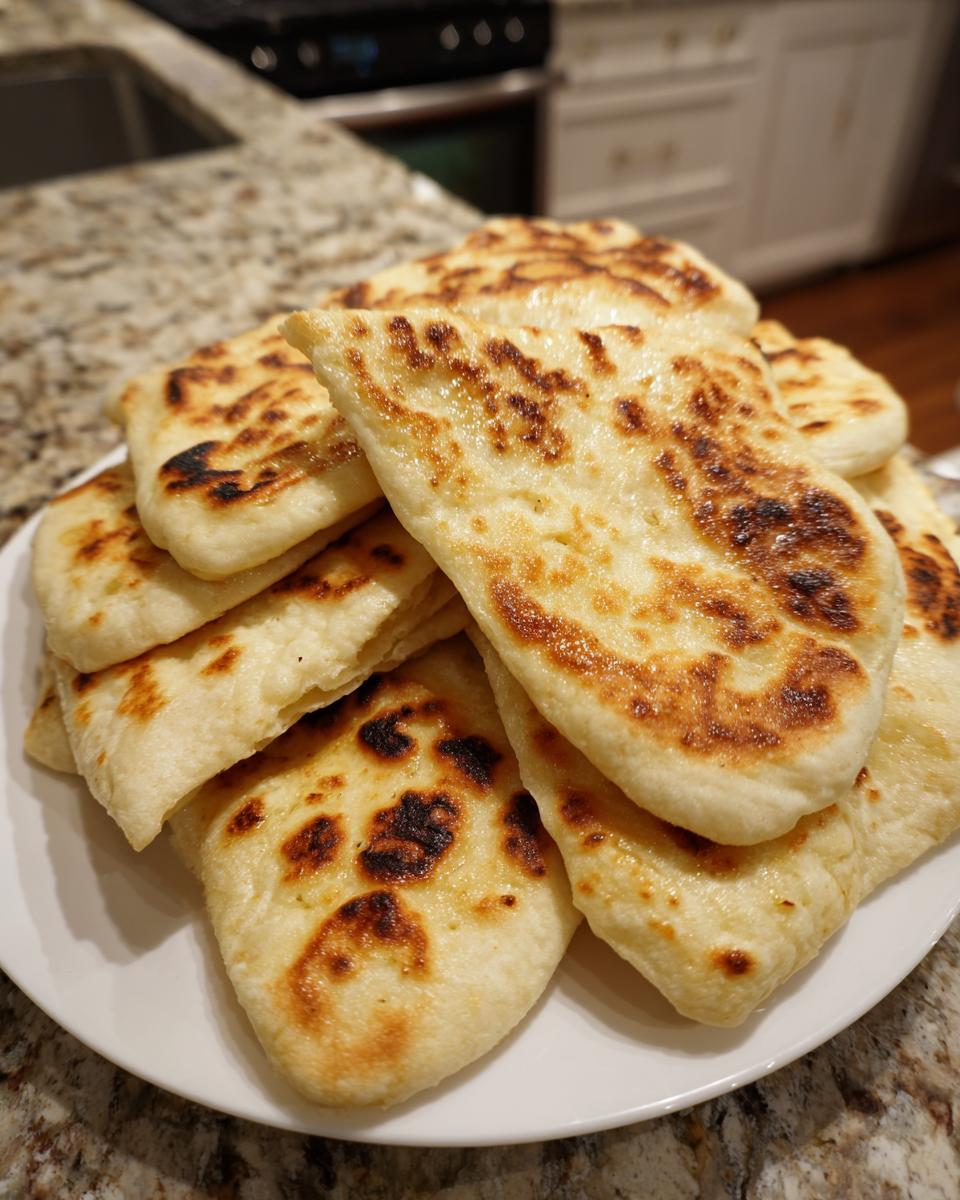
Once your dough has had its beauty sleep, give it a good punch down – it’s so satisfying! Divide it into 6 to 8 equal pieces. Roll each piece into a little ball, then let them rest for another 10 minutes. This part is super important because it makes them easier to roll out. Now, take each ball and roll it out on a lightly floured surface into a thin circle, about 6-8 inches wide. Don’t make them too thick or they won’t puff right. Get your cast-iron skillet or a griddle screaming hot over medium-high heat. Carefully lay one pita onto the hot surface. You’ll see it start to puff up in just a minute or two! Flip it over and cook the other side for another minute or two until it’s got some lovely, lightly browned spots. As soon as they come off the heat, pile them into a clean kitchen towel and wrap them up. This is the secret to keeping them super soft and cozy!
Tips for Perfect Easy Pita Bread Every Time
You know, even with a super easy recipe like this, I’ve picked up a few little tricks over the years that make my pita bread turn out just perfect every single time. If you want that amazing puff and super soft texture, listen up!
- First off, don’t skimp on the kneading! Seriously, that 5-7 minutes makes all the difference for a chewy, elastic dough that puffs beautifully.
- Make sure your skillet is HOT. Like, really good and hot. This sudden burst of heat is what makes them inflate like little pillows. Check out this skillet trick for some inspiration!
- And please, please, please stack those cooked pitas in a towel! It traps the steam and keeps them wonderfully soft. Nobody likes a dry, brittle pita.

Serving Suggestions for Your Easy Pita Bread
Okay, now that you’ve made these glorious pockets of deliciousness, what do you do? Oh, the possibilities! These easy pita breads are practically begging to be filled. They’re divine with a big scoop of hummus or baba ghanoush, perfect for wrapping up grilled chicken or falafel, or even just served warm alongside a hearty stew or salad. Don’t forget to peek at some serving ideas here – they make hosting a breeze!
Storage and Reheating Instructions
Got leftover pita? Hooray! To keep them super soft and fresh, just pop them into an airtight container or a zip-top bag once they’ve cooled down completely. They’ll stay good on your counter for about 2 days. If you need them to last longer, pop them in the fridge for up to a week. To reheat, just give them a quick zap in the microwave for about 15-20 seconds, or warm them up in a dry skillet for a minute per side – brings them right back to life!
Frequently Asked Questions About Easy Pita Bread
Got questions about your pita adventures? Totally normal! It’s like any new skill, sometimes things pop up. Let’s chat about some common ones. If you have more, don’t hesitate to reach out via our contact page!
Why didn’t my pita bread puff up?
This is the big one! Usually, it’s because the dough wasn’t quite ready, perhaps it needed a bit more kneading or resting. Or, the skillet wasn’t hot enough when you put the pita in. That initial blast of heat is crucial for creating the steam that makes them puff. Also, make sure you rolled them out pretty evenly – thin spots can sometimes cause issues.
Can I make pita bread without a cast-iron skillet?
Absolutely! While I love my cast iron for its even heating, you can totally use a good heavy-bottomed frying pan or even a non-stick skillet. Some folks have success with a preheated baking stone or steel in a super hot oven, too. Just make sure whatever you use gets nice and hot before the pita hits it!
How long does homemade pita bread last?
These are best eaten fresh, obviously! But if you have leftovers, store them in an airtight container on the counter for about 2 days. If you want them to last a bit longer, pop them in an airtight bag in the fridge for up to a week. Reheating them in a skillet or a quick microwave zap brings them back to life beautifully.
Estimated Nutritional Information
Just so you know, these numbers are just estimates, okay? They can change a little depending on exactly what flour you use and how thick you roll them out. But for one of these yummy pita breads, you’re looking at roughly:
- Calories: 150
- Fat: 3g
- Protein: 5g
- Carbohydrates: 27g
Easy Pita Bread
- Total Time: 35 min
- Yield: 6-8 pitas 1x
- Diet: Vegetarian
Description
A simple recipe for homemade pita bread that is soft and fluffy.
Ingredients
- 1 teaspoon active dry yeast
- 1 teaspoon sugar
- 1 cup warm water (105-115°F)
- 2 ½ cups all-purpose flour
- 1 teaspoon salt
- 1 tablespoon olive oil
Instructions
- In a small bowl, dissolve yeast and sugar in warm water. Let stand for 5-10 minutes until foamy.
- In a large bowl, combine flour and salt.
- Add the yeast mixture and olive oil to the flour mixture. Mix until a shaggy dough forms.
- Turn the dough out onto a lightly floured surface and knead for 5-7 minutes until smooth and elastic.
- Place the dough in a lightly oiled bowl, cover, and let rise in a warm place for 1-1.5 hours, or until doubled in size.
- Punch down the dough and divide it into 6-8 equal portions.
- Shape each portion into a ball. Cover and let rest for 10 minutes.
- On a lightly floured surface, roll each ball into a thin circle (about 6-8 inches in diameter).
- Heat a cast-iron skillet or griddle over medium-high heat.
- Cook each pita for 1-2 minutes per side, until puffed up and lightly browned.
- Remove from skillet and cover with a clean kitchen towel to keep them soft.
Notes
- For best results, use a kitchen scale to measure your flour.
- If your kitchen is cool, you can place the dough in a slightly warm oven (turned off) to rise.
- Pita bread is best served warm.
- Prep Time: 20 min
- Cook Time: 15 min
- Category: Bread
- Method: Stovetop
- Cuisine: Middle Eastern
Nutrition
- Serving Size: 1 pita
- Calories: 150
- Sugar: 1g
- Sodium: 300mg
- Fat: 3g
- Saturated Fat: 0.5g
- Unsaturated Fat: 2.5g
- Trans Fat: 0g
- Carbohydrates: 27g
- Fiber: 1g
- Protein: 5g
- Cholesterol: 0mg
Keywords: pita bread, easy pita, homemade pita, flatbread, quick bread, middle eastern bread