
Oh my gosh, you guys, I live for holiday treats that don’t take all day! Between getting the house spooky enough and trying to figure out what scary movie to watch next, who has time for complicated baking? That’s why I’m practically bouncing off the walls to show you my absolute favorite quick fix: these incredibly simple Halloween Pretzels. Seriously, these candy coated pretzels are the definition of maximum festivity for nearly zero effort. I usually make a huge batch while the kettle’s boiling for my coffee because they come together so fast!
Why You Need These Easy Halloween Pretzels
I’m telling you, if you need a snack for a school party tomorrow or just want to surprise the kids when they get home, these pretzels are your hero. They look incredibly detailed, but trust me, they’re basically fool-proof because we are using coating wafers.

- They are unbelievably fast—we are talking minimal time standing over a microwave, which is a big win in my book!
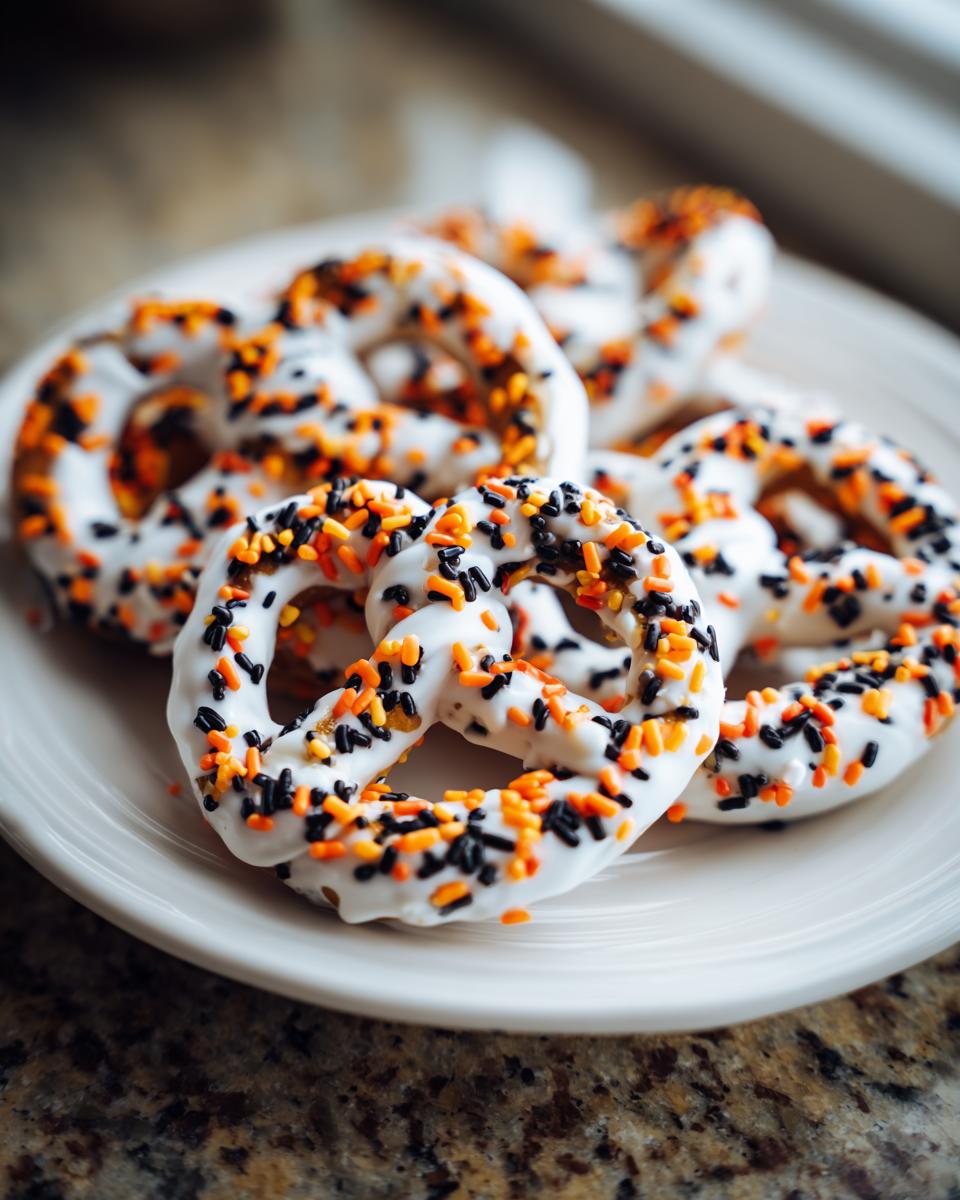
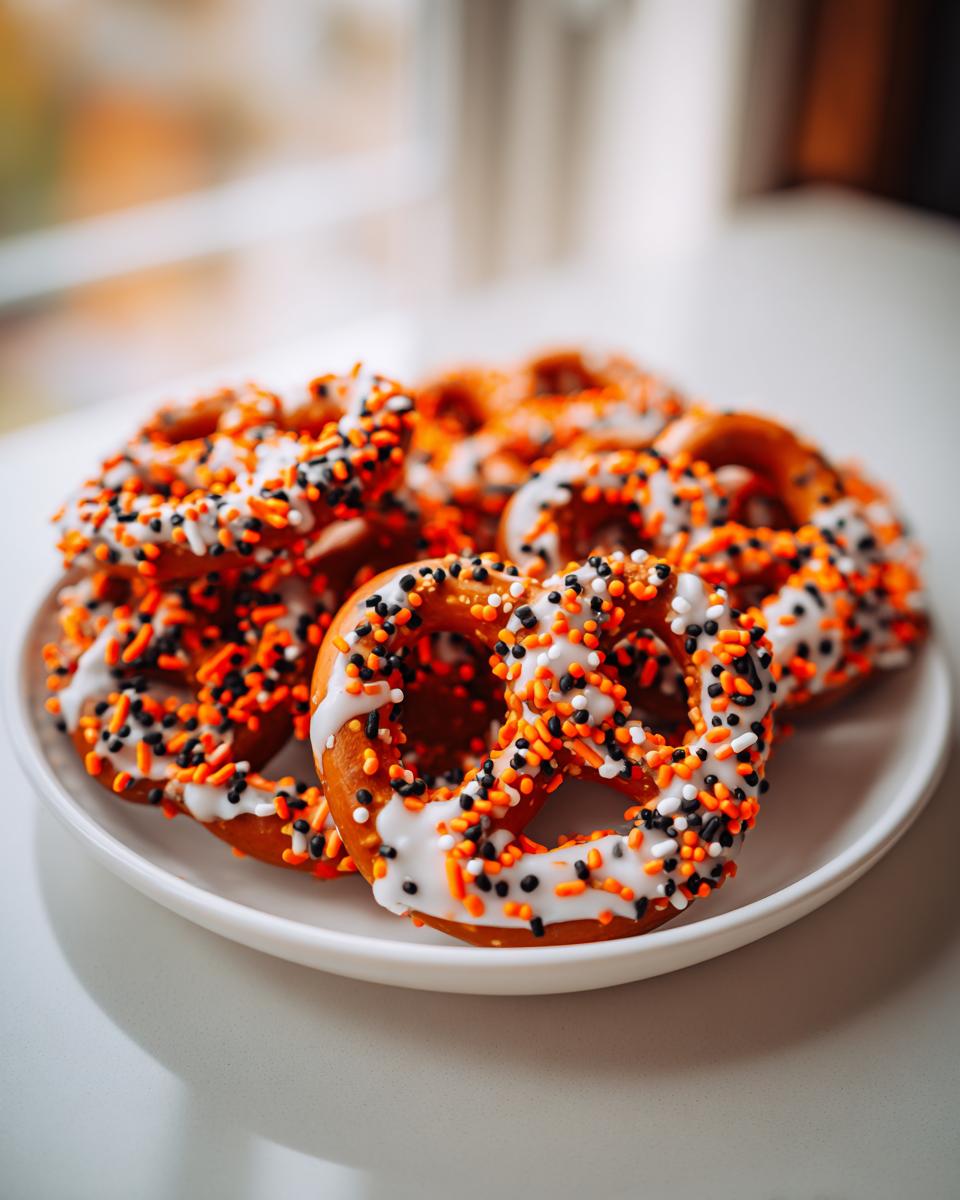
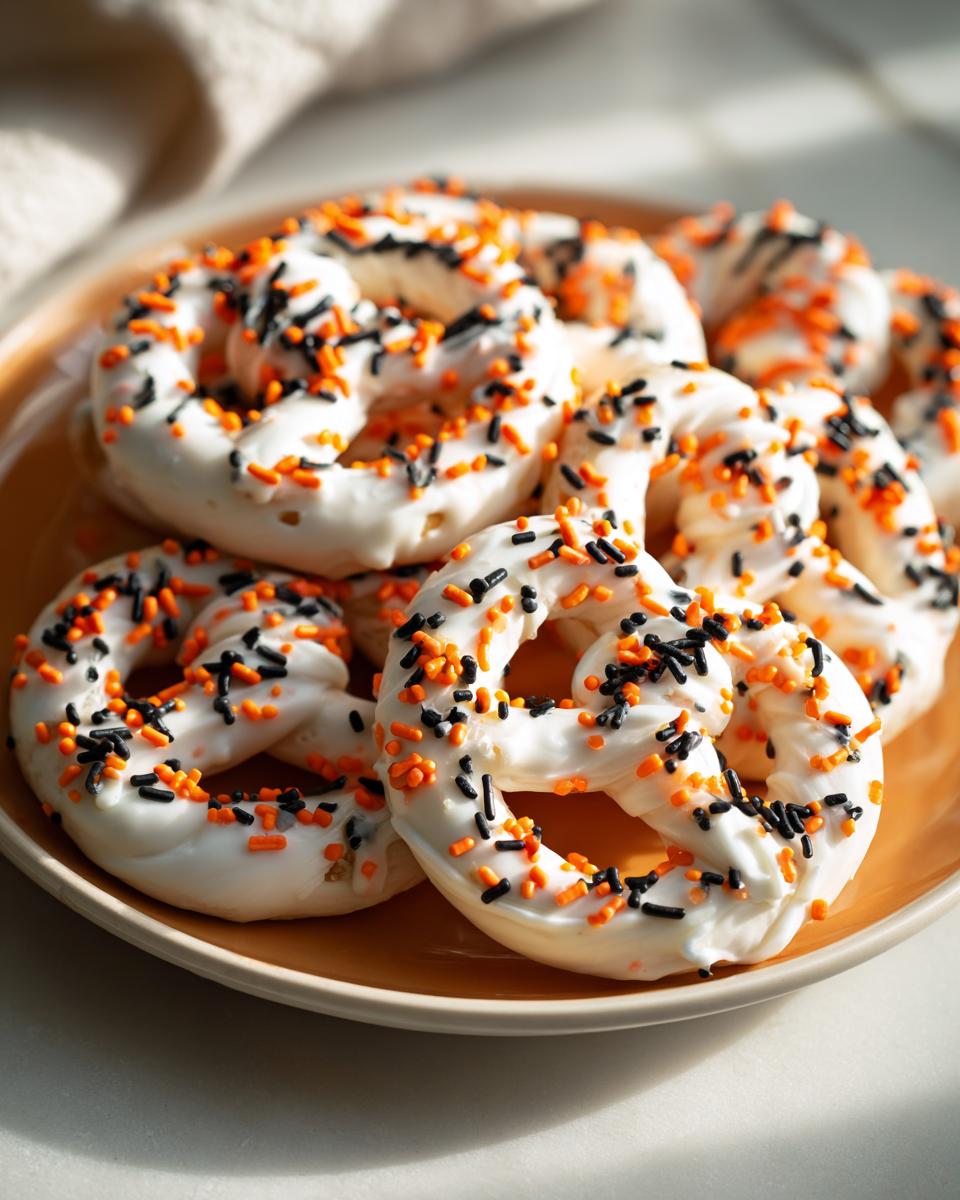
- The look is pure Halloween magic. The bright white, orange, and black combination pops perfectly.
- If you can melt something, you can make these. The reliability of the candy coating method means you won’t end up with a big, greasy mess trying to do real chocolate tempering.
Quick Prep Time for Last-Minute Halloween Pretzels
Look at the details: 15 minutes of active prep time! I can whip up a whole batch of these Halloween Pretzels faster than I can decide which spooky movie soundtrack to play. If you realize at 8 PM you forgot to bake anything for Saturday’s class party, don’t panic. Pull out the twists and the candy melts—you’ve got this.
Simple Dipping Technique for Perfect Halloween Pretzels
The secret here is only dipping half the pretzel. Why? Because you need that plain salty end to hold onto later! You dip it gently into the smooth white coating, give it a little shake to get the excess off, and then go straight for the sprinkles. It’s so easy and makes your resulting Halloween Pretzels look professionally done. I even link to my recipe for my favorite Halloween cookies if you want even more quick holiday ideas!
Essential Ingredients for Festive Halloween Pretzels
Okay, you don’t need a giant shopping list for these treats. That’s the beauty of simple recipes! Having the right coating makes all the difference, though. You want smooth results, and sometimes that means letting the store-bought stuff do the heavy lifting for you. Keep these few ingredients on hand, and you are 90% done.
Base Components for Halloween Pretzels
First up, we need something salty to contrast all that sweet sugar! You must grab 1 bag (16 ounces) of small pretzel twists—the little ones work best for dipping. For our main coating, it has to be 12 ounces of white candy coating wafers. We mix in just a little bit of shortening—that’s our secret weapon for silkiness, not texture, mind you.
Color and Decoration for Halloween Pretzels
Now we bring the spooky vibes! You’ll need 1/4 cup orange candy melts and 1/4 cup black candy melts. These are for those quick, spooky lines you’ll draw later. And of course, you need a generous handful of fun Halloween sprinkles! These Halloween Pretzels are nothing without a little sparkle!
Step-by-Step Instructions: Making Your Halloween Pretzels
This is where the magic happens, and I promise it moves fast! The key to this whole process is working quickly once that white coating is melted because it sets up surprisingly fast. If you need to reference my trick for making ghostly treats while you wait, check out my Halloween Ghost Brownies recipe for inspiration!
Preparing the Base Coating for Halloween Pretzels
First things first: protect your counter! Line a baking sheet with parchment paper—this is not optional. If you skip this, you’ll be chiseling off sets of Halloween Pretzels later. Next, grab your white coating wafers and the shortening and pop them in the microwave. Hit it in 30-second bursts, stirring really well between each blast. You want it perfectly smooth, looking like glossy white paint, with no lumps at all.
Dipping and Sprinkling Your Halloween Pretzels
Now, grab a little pretzel twist. Dip about half of it right into that smooth white bath. Let the extra coating drip off for a second—you don’t want them too thick! Place it right onto your lined sheet. Here’s the second crucial, time-sensitive step: immediately toss your Halloween sprinkles on top before the white coating even thinks about hardening. These sprinkled Halloween Pretzels are the base layer!
Adding Spooky Details to Halloween Pretzels
Time for the orange and black! Melt those remaining melts separately, just like you did the white ones. Once they are liquid gold, put each color into its own tiny piping bag—or just use a zip-top bag and snip a *tiny* corner off. You want to pipe thin, spooky lines or little zigzags across your white base. Don’t overthink this part; scary lines look better than perfect ones when making Halloween Pretzels!
Setting and Finishing Your Halloween Pretzels
Once those spooky orange and black details are placed, you’ve gotta let them rest. You can leave them out on the counter, but if you’re impatient like me, pop the whole tray into the fridge for about 15 minutes until they are totally firm. Don’t touch them until they are solid! After chilling, your amazing, festive Halloween Pretzels are ready to go!
Expert Tips for Perfect Candy Coating on Halloween Pretzels
Even though this recipe is super straightforward, sometimes candy melts act a little moody, you know? Coating things in sugar and fat can get tricky when the humidity changes! Don’t worry if your white coating seems a bit stiff halfway through dipping, or if you want those colored lines to look extra sharp. I’ve learned a couple of tricks over the years that keep these Halloween Pretzels looking flawless.
Troubleshooting Thick Candy Coating for Halloween Pretzels
If your white coating starts getting too stiff while you’re working—and it happens, especially with the big batch—it just means the fats are starting to seize up a bit. This is exactly why the recipe calls for a tiny bit of shortening or oil to get it silky smooth in the first place. If it gets sticky, just microwave it for 10 seconds and stir really well. If it’s still thick, add just a half-teaspoon more shortening. My rule is to add the thinning agent super slowly—you want glossy, not runny, or your pretzels will drown!
Achieving the Best Set on Your Halloween Pretzels
The biggest danger zone when making these pretzels is trying to drizzle the orange and black details over wet white coating. If you’re moving slowly, the white might get a skin on top before you finish dipping, which is annoying. Once you’ve dipped your batch into the white coating and sprinkled them, don’t try to start piping the details immediately! Let that initial white coat set up for about five minutes while you clean up your dipping station. If you wait just a tiny bit, those colored lines will sit right on top perfectly instead of sliding off.
For super clean results, I actually work in three small batches instead of one giant one. Dip, sprinkle, set aside. Then melt and drizzle the orange on the first batch while the second batch is chilling from the white dip. It’s a little more management, but it keeps everything looking neat. If you love these simple candy projects, you should definitely look at my recipe for Chocolate Caramel Toffee Cake—it’s a little more effort, but worth every bite!
Storage and Serving Suggestions for Halloween Pretzels
So you made two dozen of these incredible treats and now you have a slightly terrifying mountain of salty, sweet goodness. What do you do? Well, first, you eat three right away, obviously. Then, you need to store the rest properly so they stay crunch-tastic for the party later in the week. I’ve got you covered on how to keep these Halloween Pretzels perfect!
Storing Leftover Halloween Pretzels
The absolute best part about candy-coated pretzels is that they keep really well! Unlike cookies that can go stale, as long as the coating is set hard, these are good to go. You need to store your finished Halloween Pretzels in an airtight container. Make sure they are totally cool and set before you put the lid on, though! If there’s any residual warmth or humidity, you’ll get that gross, sticky condensation at the bottom. I just keep the container right on the counter at room temperature. No need to run to the fridge for these!
Creative Ways to Serve Halloween Pretzels
Honestly, these are great just piled up on a festive platter, but why stop there? If you’re having a serious spread going on, use these pretzels to add texture! I love crumbling up a few of the plain white ones (if you have any leftovers from the dipping process) over my ice cream sundaes, but for the decorated ones, they make amazing toppers. Seriously, stick one right into the top of a chocolate cupcake or a little brownie bite for instant Halloween flair.
They are also fantastic as part of a bigger snack board. You know, mix them in with some spooky cheeses, deviled eggs, and maybe you should skip those sausage rolls and check out my Iowa Party Bites instead for the savory section! The salty crunch of these Halloween Pretzels balances out all the heavy dips perfectly.
Frequently Asked Questions About Halloween Pretzels
I totally get it; sometimes you have questions pop up right when you’re about to start dipping! These candy coated pretzels are pretty simple, but I wanted to make sure I covered the most common things people ask me when they’re making their own spooky snacks. If you are planning a whole themed menu, you might want to look at my Halloween Dinner Ideas with Spiderweb Dip for more inspiration!
Can I use regular chocolate instead of candy melts for these Halloween Pretzels?
You totally can! If you have some nice milk or dark chocolate chips lurking in the pantry, they’ll work fine as a substitute for the white coating wafers. But here’s the catch, and why I stick to the melts: candy melts are designed to melt down perfectly smooth and then set up *hard* at room temperature. Regular chocolate usually needs that bit of extra effort—you have to temper it correctly—or it stays soft and messy. If you don’t temper it, your beautiful Halloween Pretzels might feel greasy or smudge easily. Stick with the melts for guaranteed crisp results!
How long do these Halloween Pretzels stay fresh?
The beauty of coating things in candy is how well they preserve the crunch underneath! Because we’re using candy coating and not a perishable frosting, these pretzels do great. If you store them properly in that airtight container like I mentioned before—away from heat and humidity—they are absolutely best within about a week. After about 10 days, the pretzels themselves might start losing a little bit of that factory-fresh snap, but honestly, they usually disappear long before then!
What is the best way to get crisp lines when decorating the Halloween Pretzels?
Crisp lines depend almost entirely on temperature control. When you pipe the orange and black details on top of that white base layer, you want that white layer to be completely set. If it’s still warm or even slightly soft, your colors will bleed together—you’ll get spooky mud instead of crisp webbing! My best advice is to let the dipped and sprinkled pretzels sit out for a full five to ten minutes for that white coating to transition from sticky to dull before you even touch them with the colored piping bag. Also, make sure you are using piping bags (or even just a tiny snip on a Ziploc) so you control the flow. Thin lines on a hard base = super crisp Halloween Pretzels!
Nutritional Estimate for Halloween Pretzels
Now, let’s be real—these tasty little snacks aren’t exactly health food, and that’s okay! If you’re going to eat a treat, you might as well know what you’re getting into, right? I pulled the numbers right off the back of the candy melt bags combined with the nutrition facts for basic pretzels. Please keep in mind that since we’re dealing with hand-dipped items and fun sprinkles, these figures are just a general guideline, not a guarantee!
This information is based on a serving size of just one of these sweet and salty Halloween Pretzels:
- Calories: Roughly 150
- Fat: About 10g, with 5g being saturated fat
- Carbohydrates: Around 15g
- Sugar: This comes in at about 12g
- Protein: We get about 2g in there!
- Sodium: Since it’s a pretzel, we’re looking at about 180mg
I always say a little indulgence is fine, especially during a holiday. But because we’re mixing store-bought coatings and pretzels, these estimates can shift slightly depending on the brand you pick up. Treat these numbers as an honest snapshot, but don’t stress about them too much! They are just an estimate, after all, so enjoy them guilt-free!
Share Your Spooky Creations
Okay, now that you have mastered these super easy Halloween Pretzels, I absolutely need to see what you came up with! Honestly, the best part of sharing my recipes is seeing how you guys decorate them. Are you keeping it simple with just the orange and black stripes? Did you try to make little mummy faces? Did you add edible googly eyes? Tell me everything!
Go ahead and leave a comment right down below. Don’t be shy! Tell me how fast they came together for you and if your family loved them. If you took a picture of your amazing, perfectly coated Halloween Pretzels, please tag me on social media! I spend way too much time scrolling through tags, so I promise I’ll see it and give you all the heart-eye emojis!
If you have any other questions about dips, cakes, or general kitchen chaos, you can always reach out to me through my contact page. I’d love to hear your decorating triumphs or even your totally minor coating catastrophes—we learn from those, right? Happy Haunting, my friends!
Print
Simple Halloween Pretzels
- Total Time: 20 min
- Yield: About 24 pretzels 1x
- Diet: Vegetarian
Description
Make easy, festive pretzels for Halloween using melted candy coating.
Ingredients
- 12 ounces white candy coating wafers
- 1 tablespoon vegetable shortening
- 1 bag (16 ounces) small pretzel twists
- 1/4 cup orange candy melts
- 1/4 cup black candy melts
- Halloween sprinkles
Instructions
- Line a baking sheet with parchment paper.
- Melt the white candy coating wafers and shortening together in a microwave-safe bowl in 30-second intervals, stirring until smooth.
- Dip half of each pretzel into the melted white coating. Let excess drip off.
- Place the coated pretzels on the prepared baking sheet.
- Immediately sprinkle the wet coating with Halloween sprinkles.
- Melt the orange and black candy melts separately according to package directions.
- Transfer the melted orange and black coatings to small piping bags or zip-top bags with a corner snipped off.
- Pipe thin lines or small designs onto the white coating of the pretzels for a spooky look.
- Allow the pretzels to set completely at room temperature or chill for 15 minutes until firm.
Notes
- If the candy coating is too thick, add a small amount of vegetable oil or shortening to thin it slightly.
- Store finished pretzels in an airtight container at room temperature.
- Prep Time: 15 min
- Cook Time: 5 min
- Category: Snack
- Method: Dipping
- Cuisine: American
Nutrition
- Serving Size: 1 pretzel
- Calories: 150
- Sugar: 12g
- Sodium: 180mg
- Fat: 10g
- Saturated Fat: 5g
- Unsaturated Fat: 5g
- Trans Fat: 0g
- Carbohydrates: 15g
- Fiber: 0g
- Protein: 2g
- Cholesterol: 5mg
Keywords: Halloween pretzels, candy coated pretzels, white chocolate pretzels, holiday snack, easy dessert